Poor Man's Stove: how to make an alcohol stove out of an aluminium can

Links on site are amazon affiliate links
I have always been enamored with inexpensive DIY stoves. For a few cents you can build yourself your very own working hiking stove. Jetboil stoves may be efficient but at over $100 dollars they are not that practical for a hiker on a budget.
Some alcohol stove designs such as the penny stoves are effective but require additional items to work, use bonding chemicals to hold together, and require foreknowledge of fuel to boil ratios. A ferrocerium rod is a great way to start a stove but next to impossible on some penny stove designs.
A few years ago I found a video of a worn in man on the floor of a dilapidated house creating this miraculous stove out of nothing more then a can. The stove caught me by surprise. It lacked the flaws I came to dislike about other penny stoves but still retained their simplicity.
I fell in love with this design because of its ability to reuse fuel. The stove is easy to make and its parts are free as long as you can find a can. If out on a trail the only tool you would need is a knife to build one. The stove is strong and durable yet simple enough that anyone can make it.
Procedure
Step 1: Gather supplies.
You will need an empty soda can, a sharp knife (with a sharp point), and scissors. A marker will help but is not necessary. If you dont have scissors you can use a sharp knife but be careful.
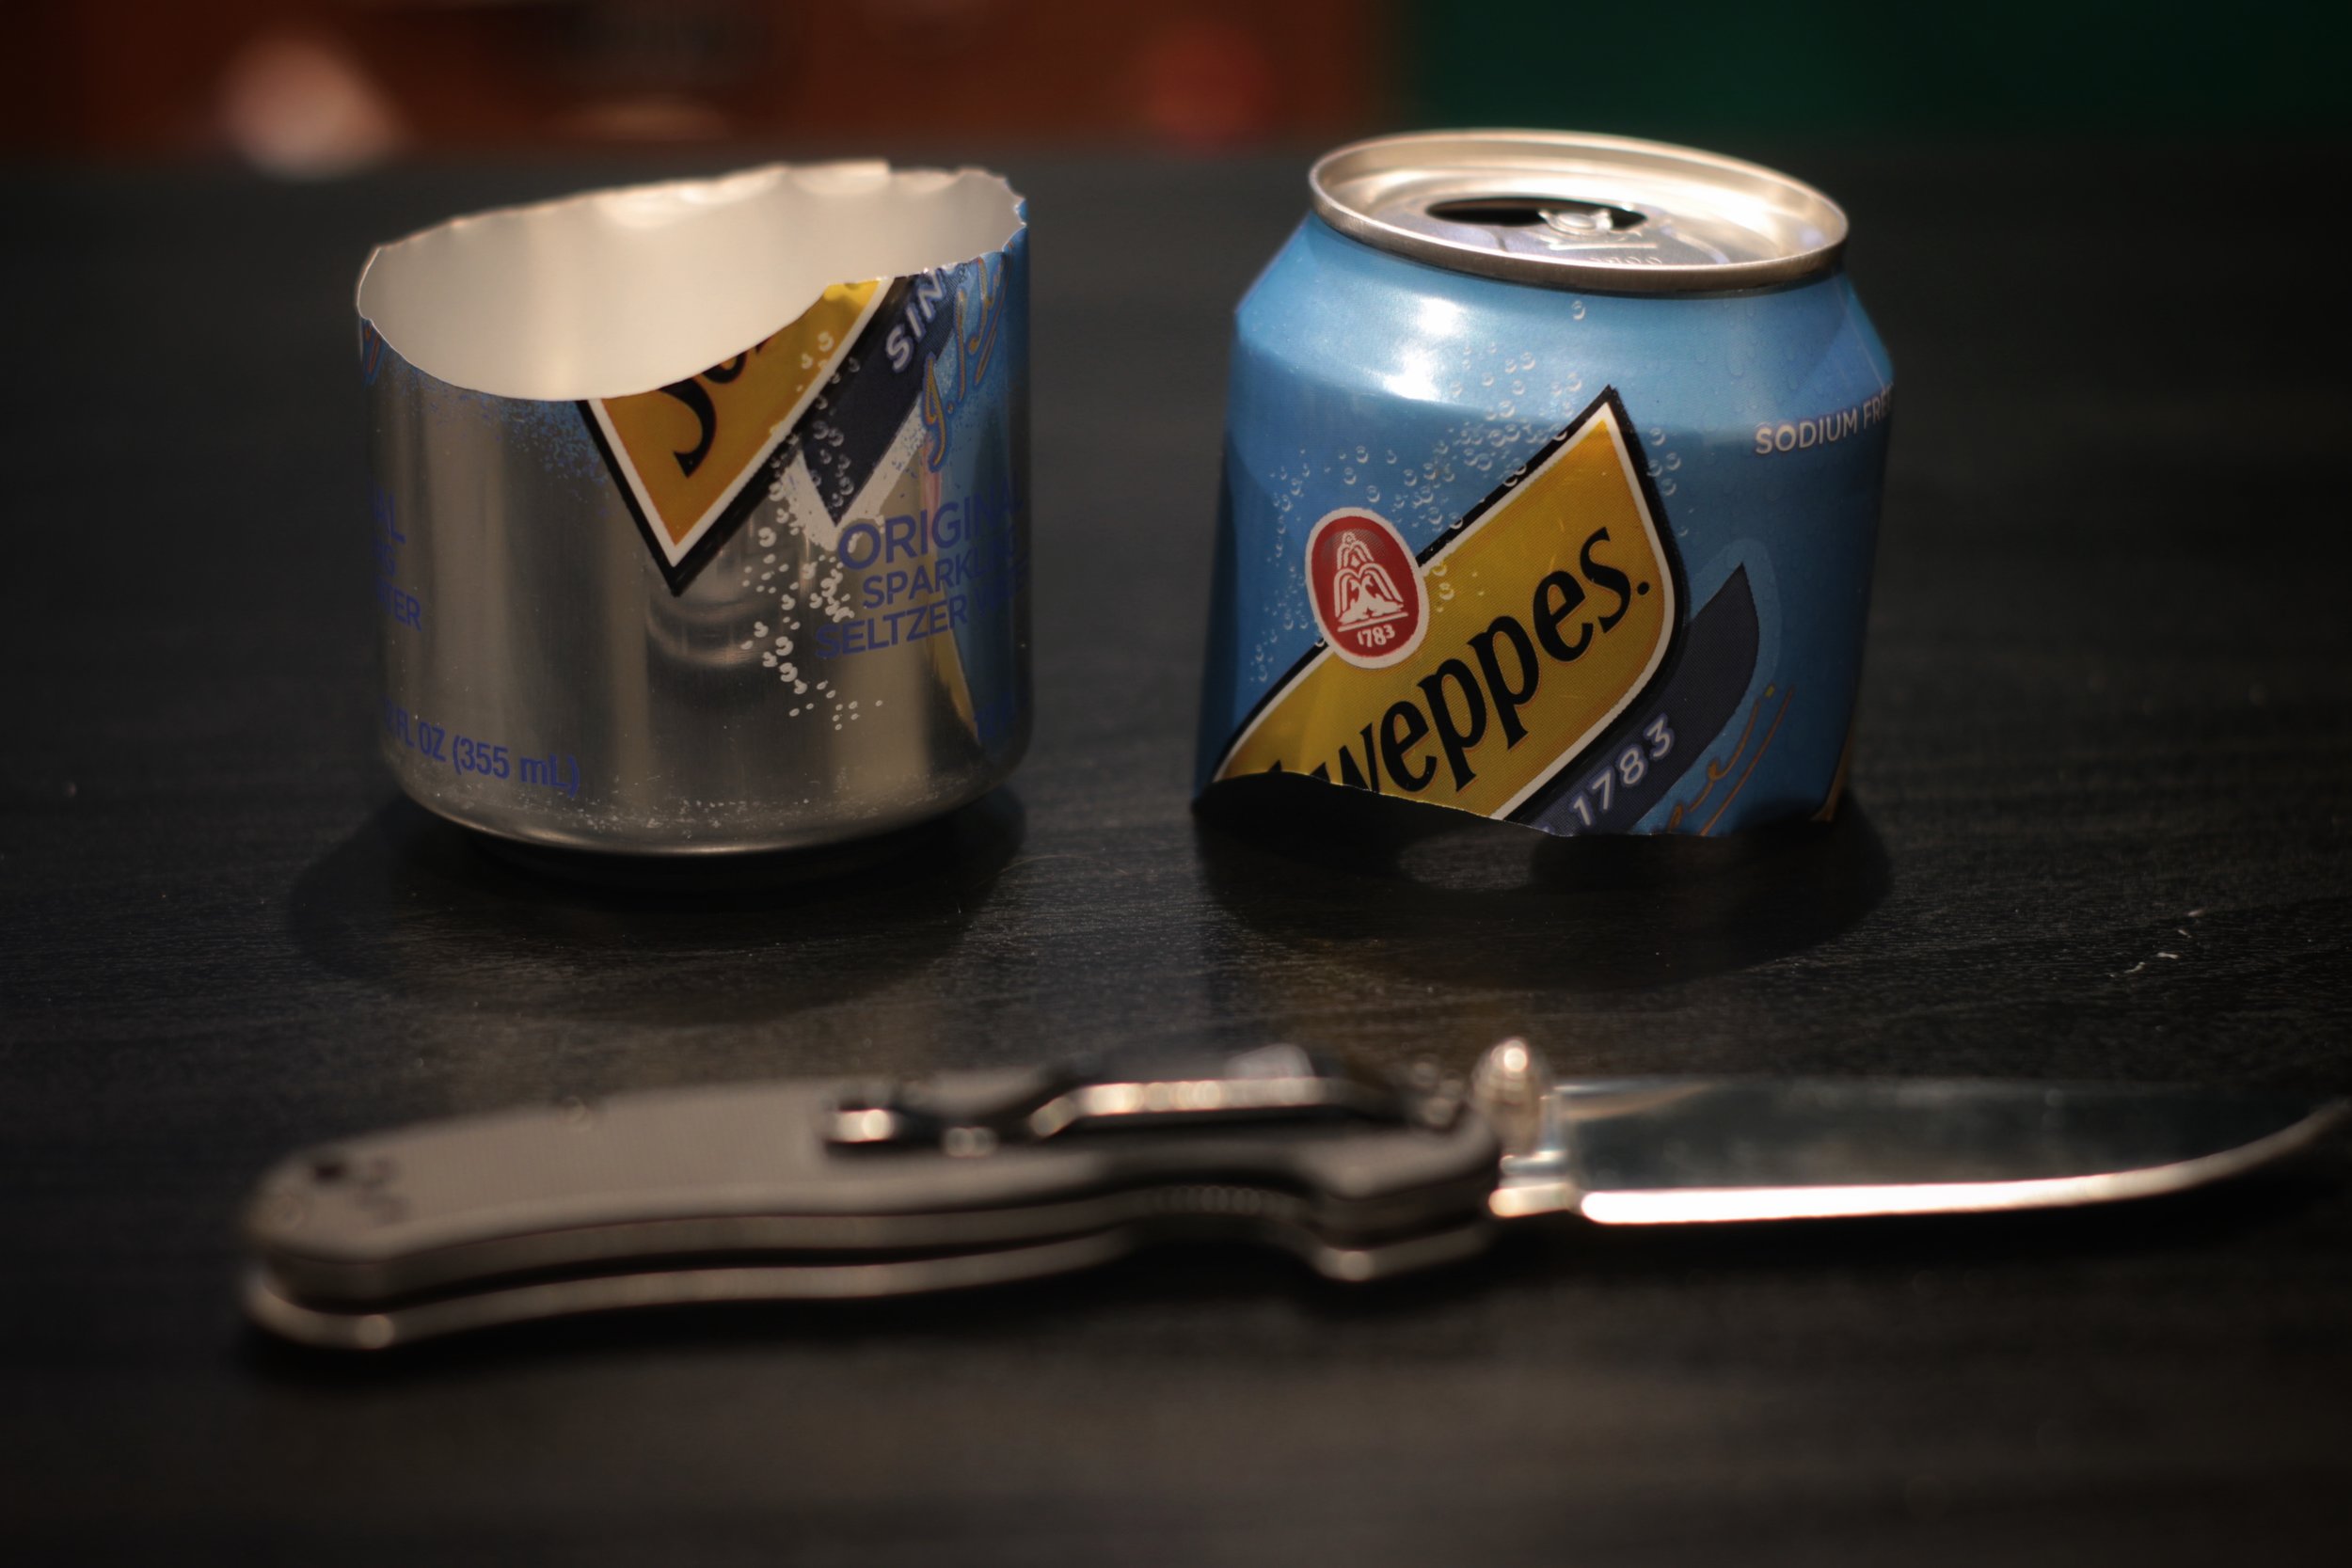
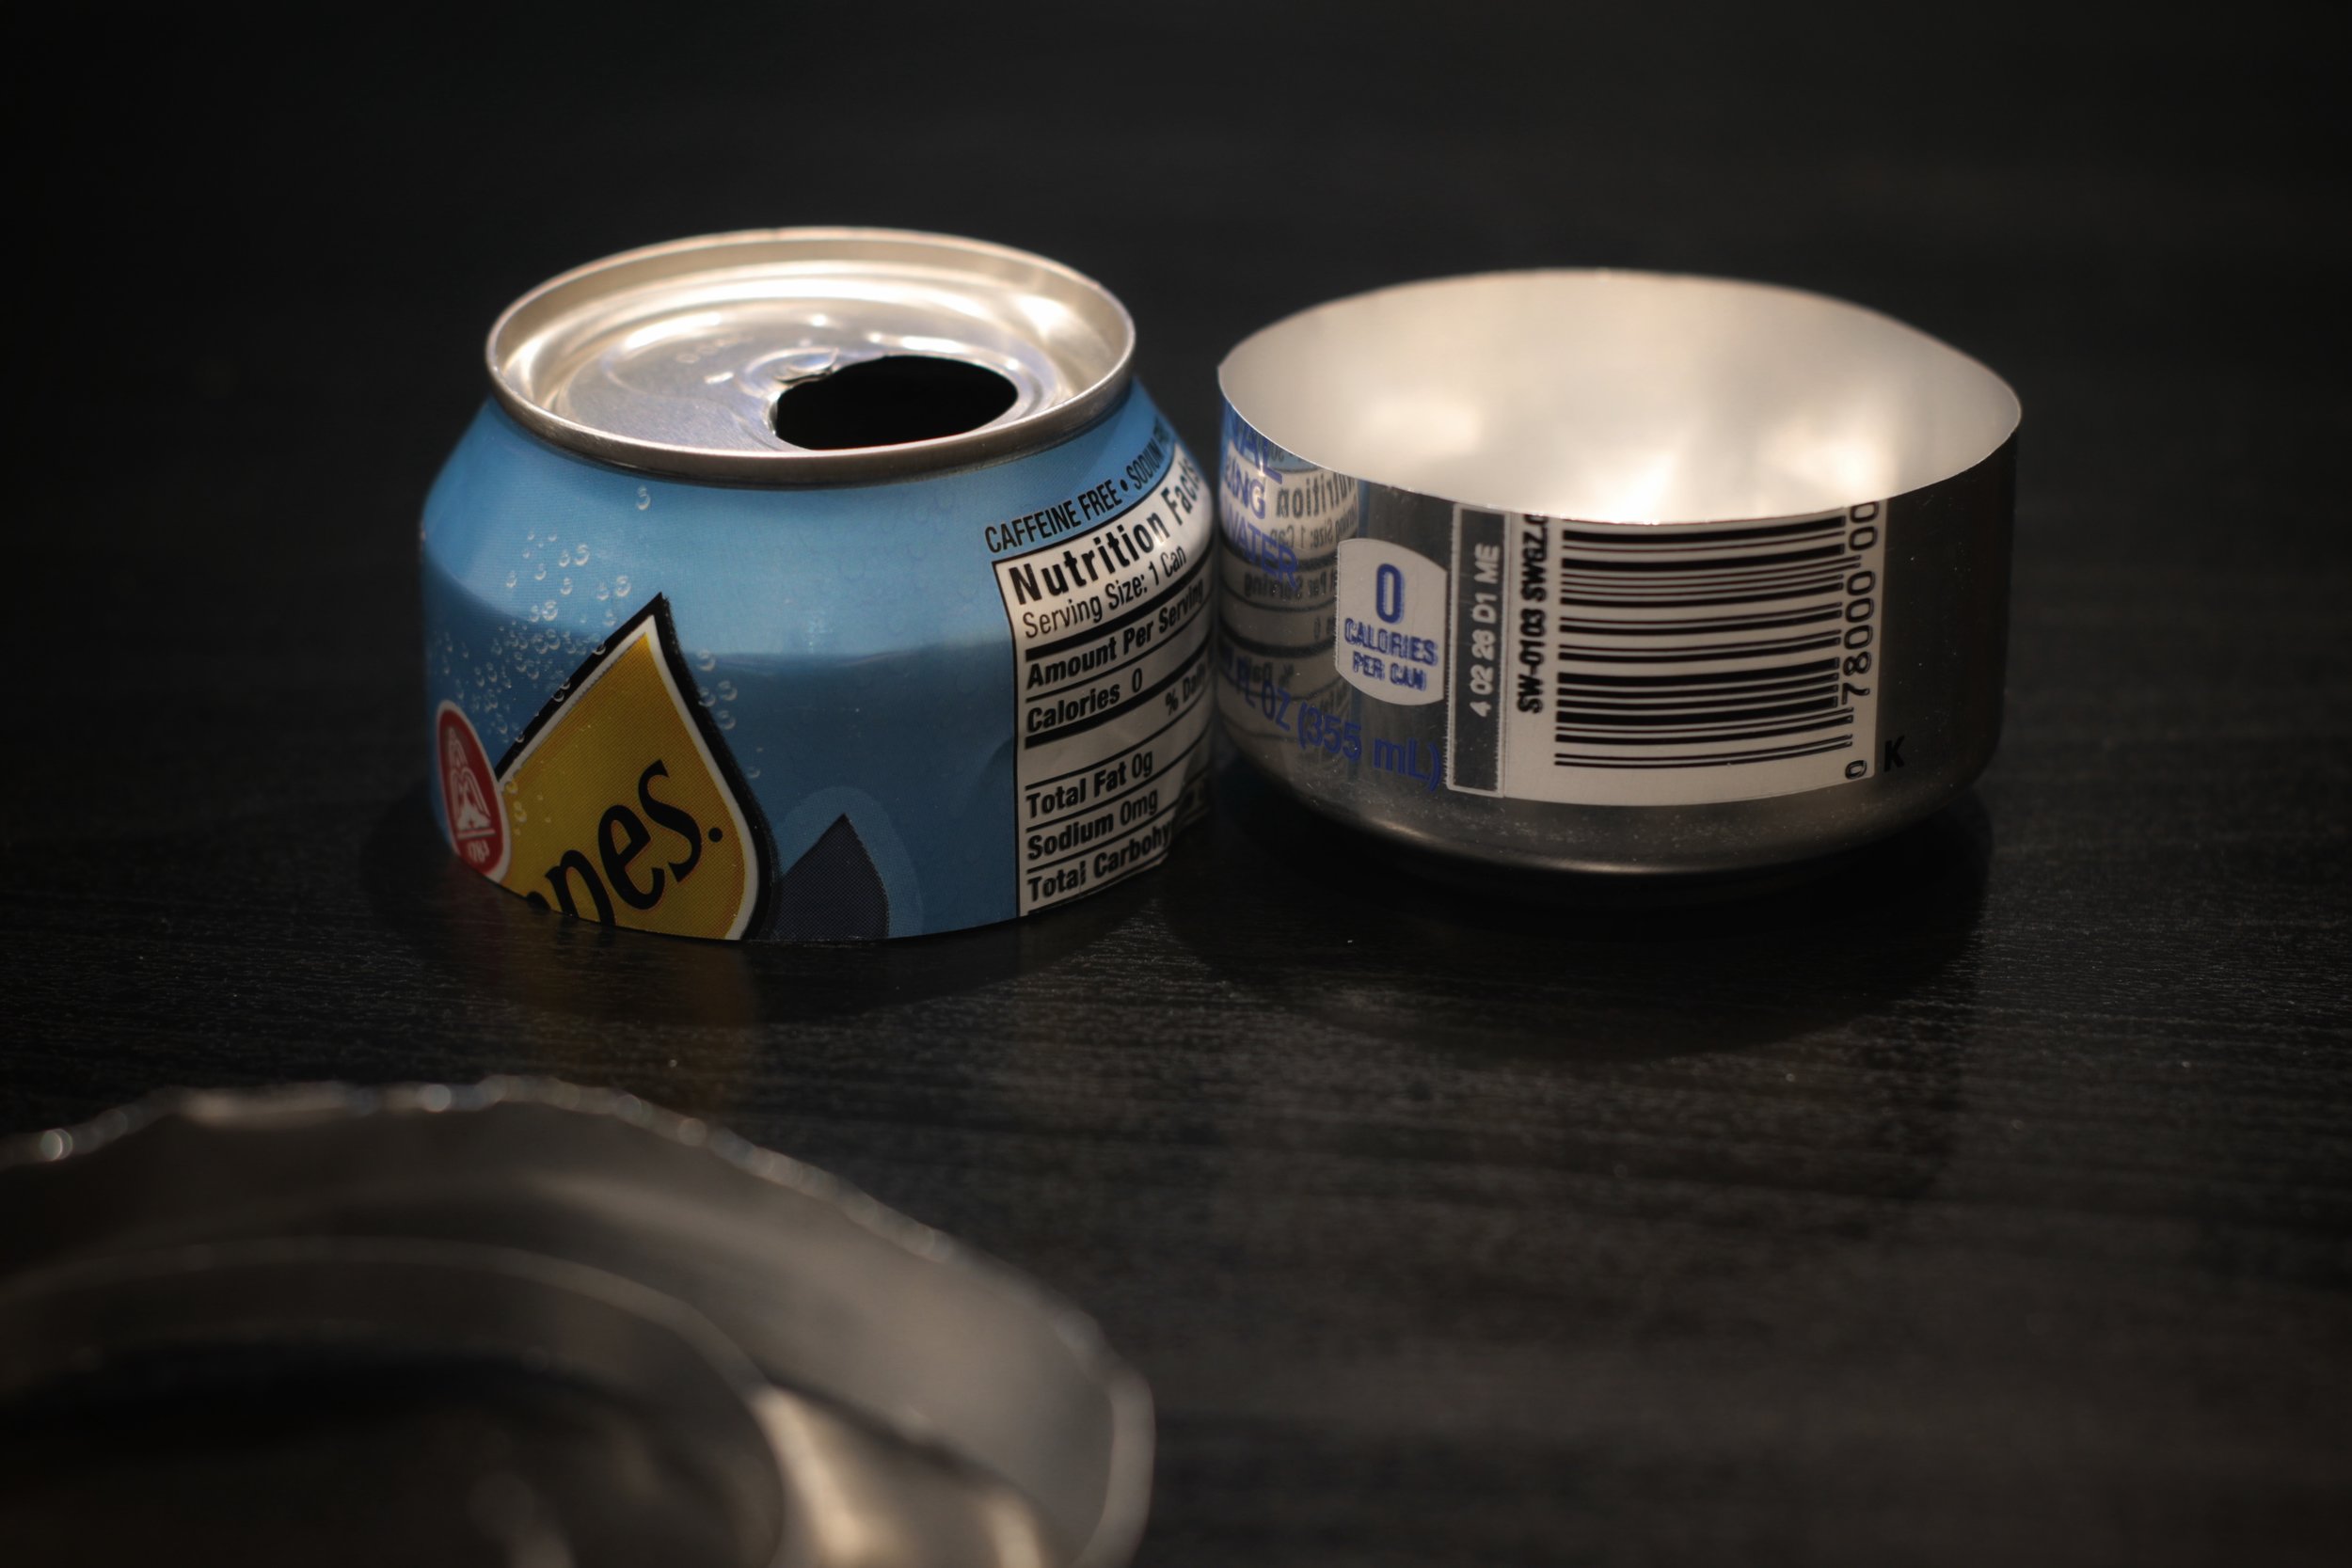
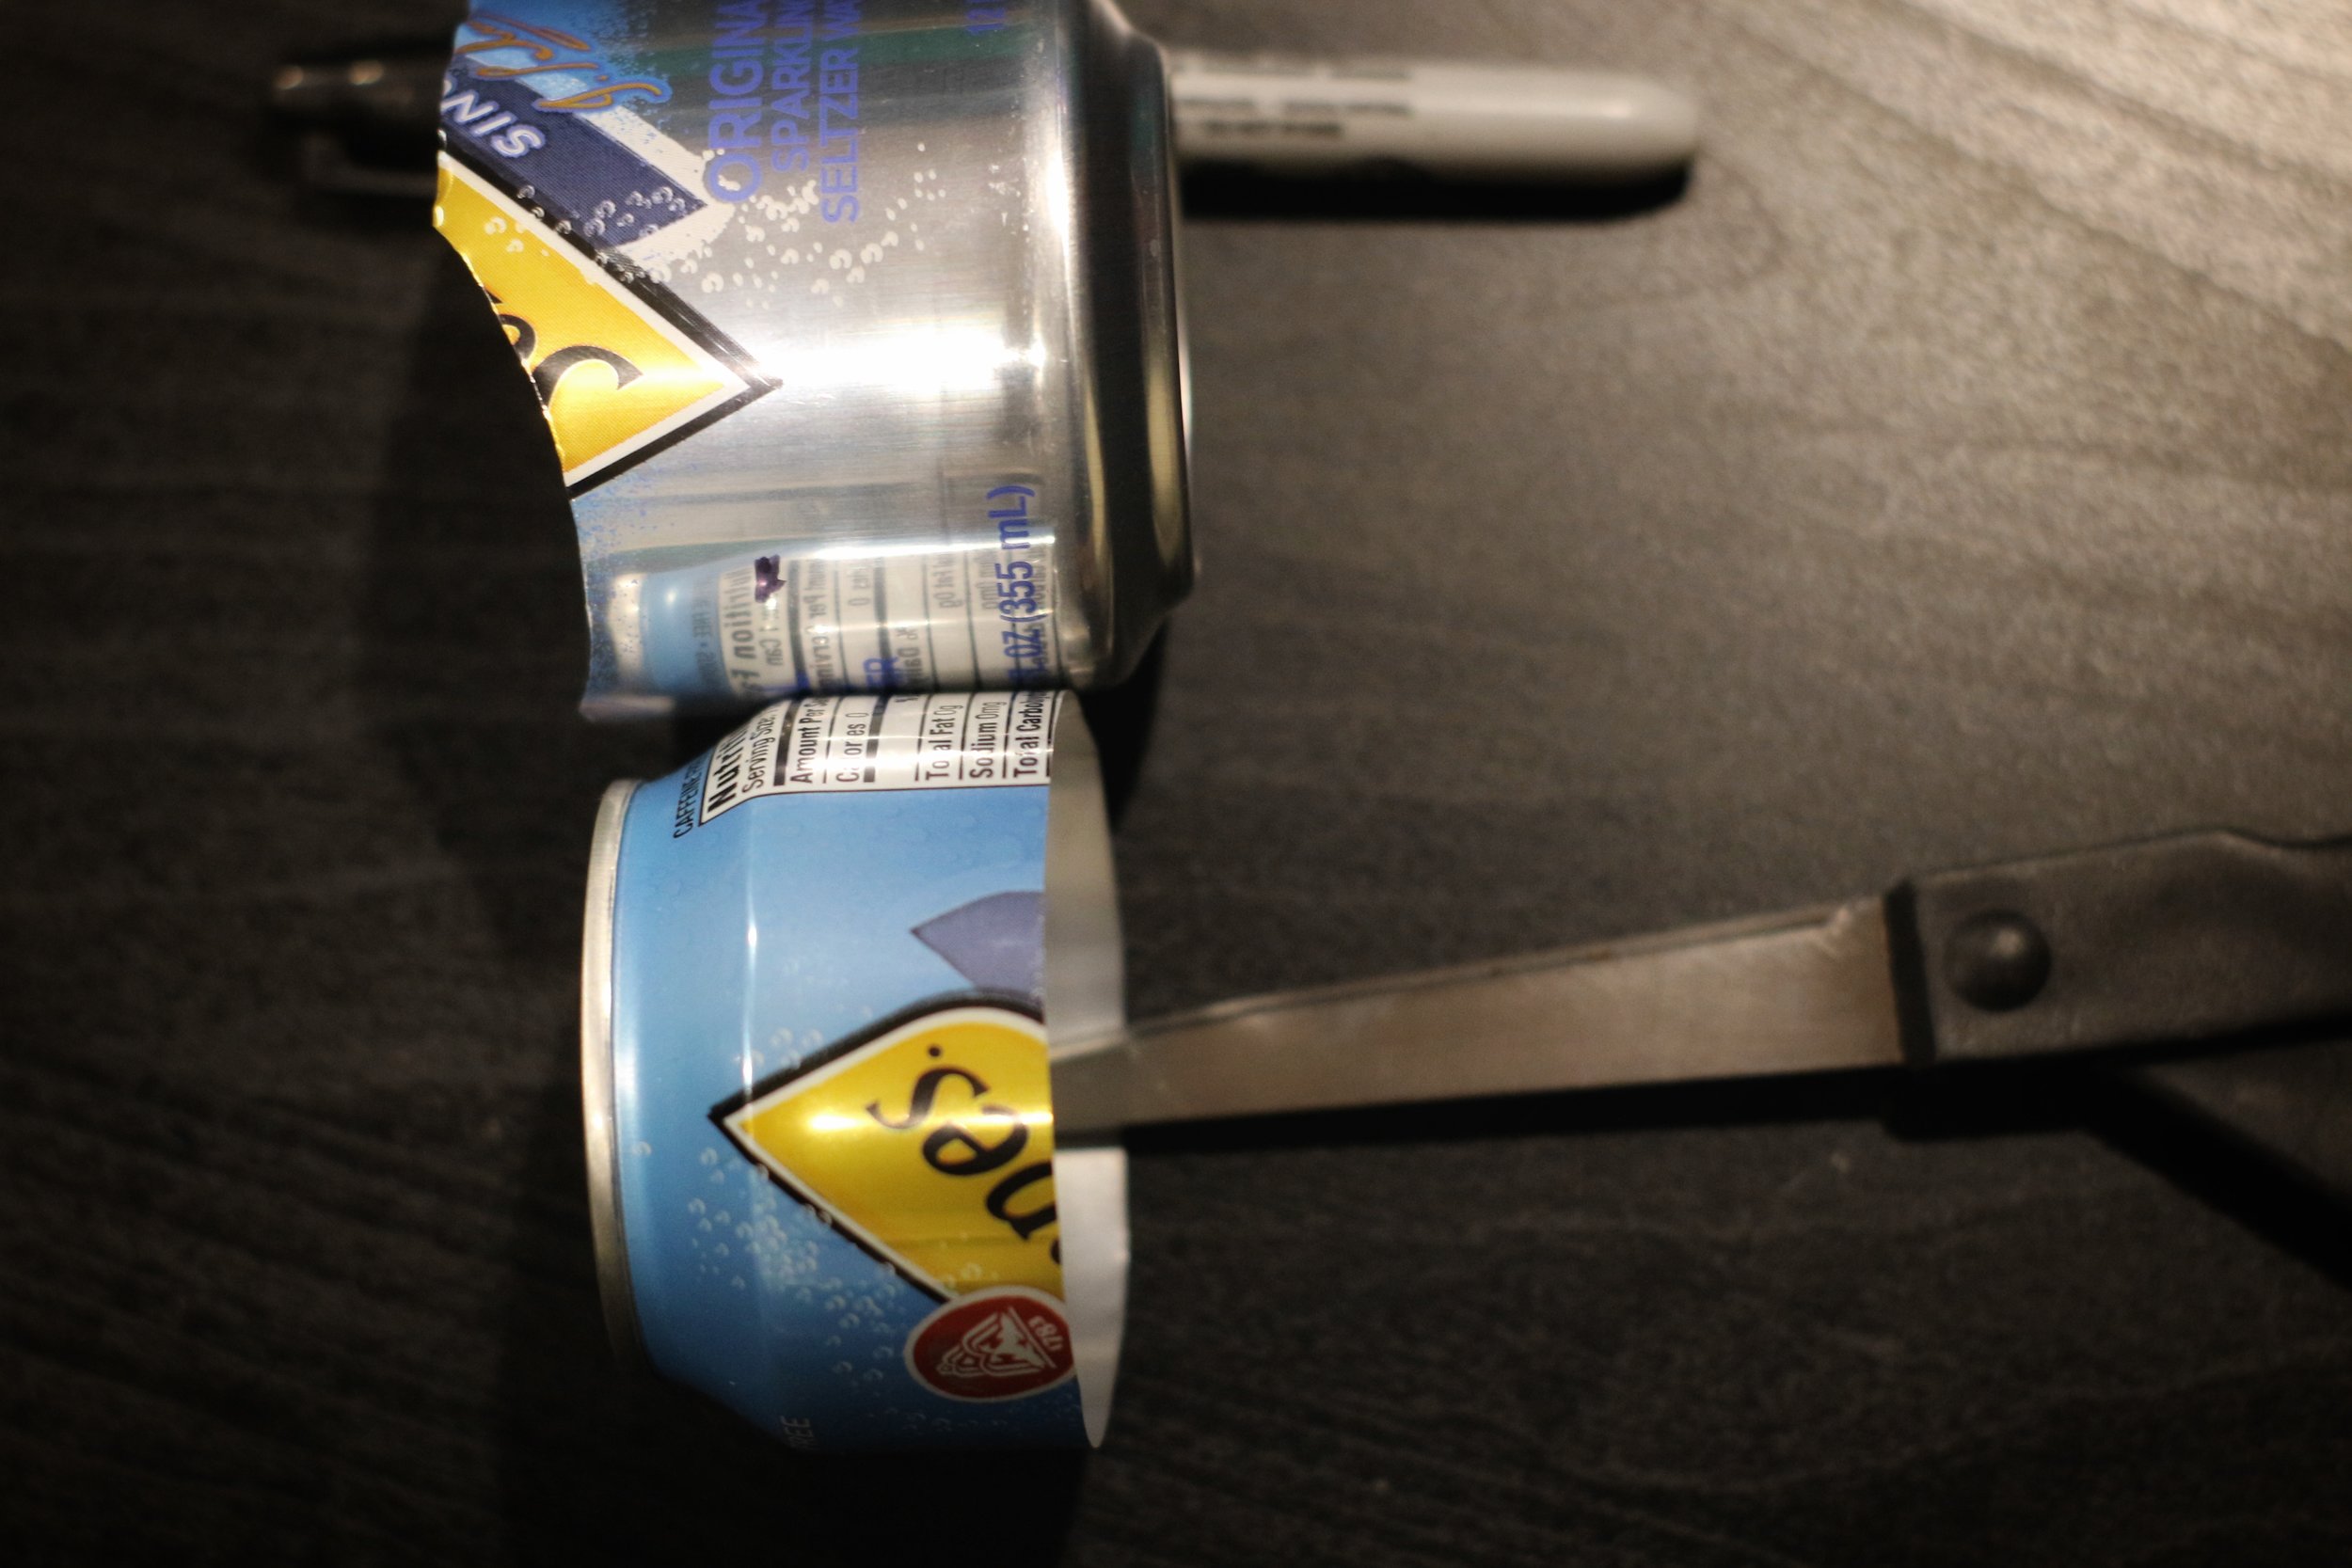
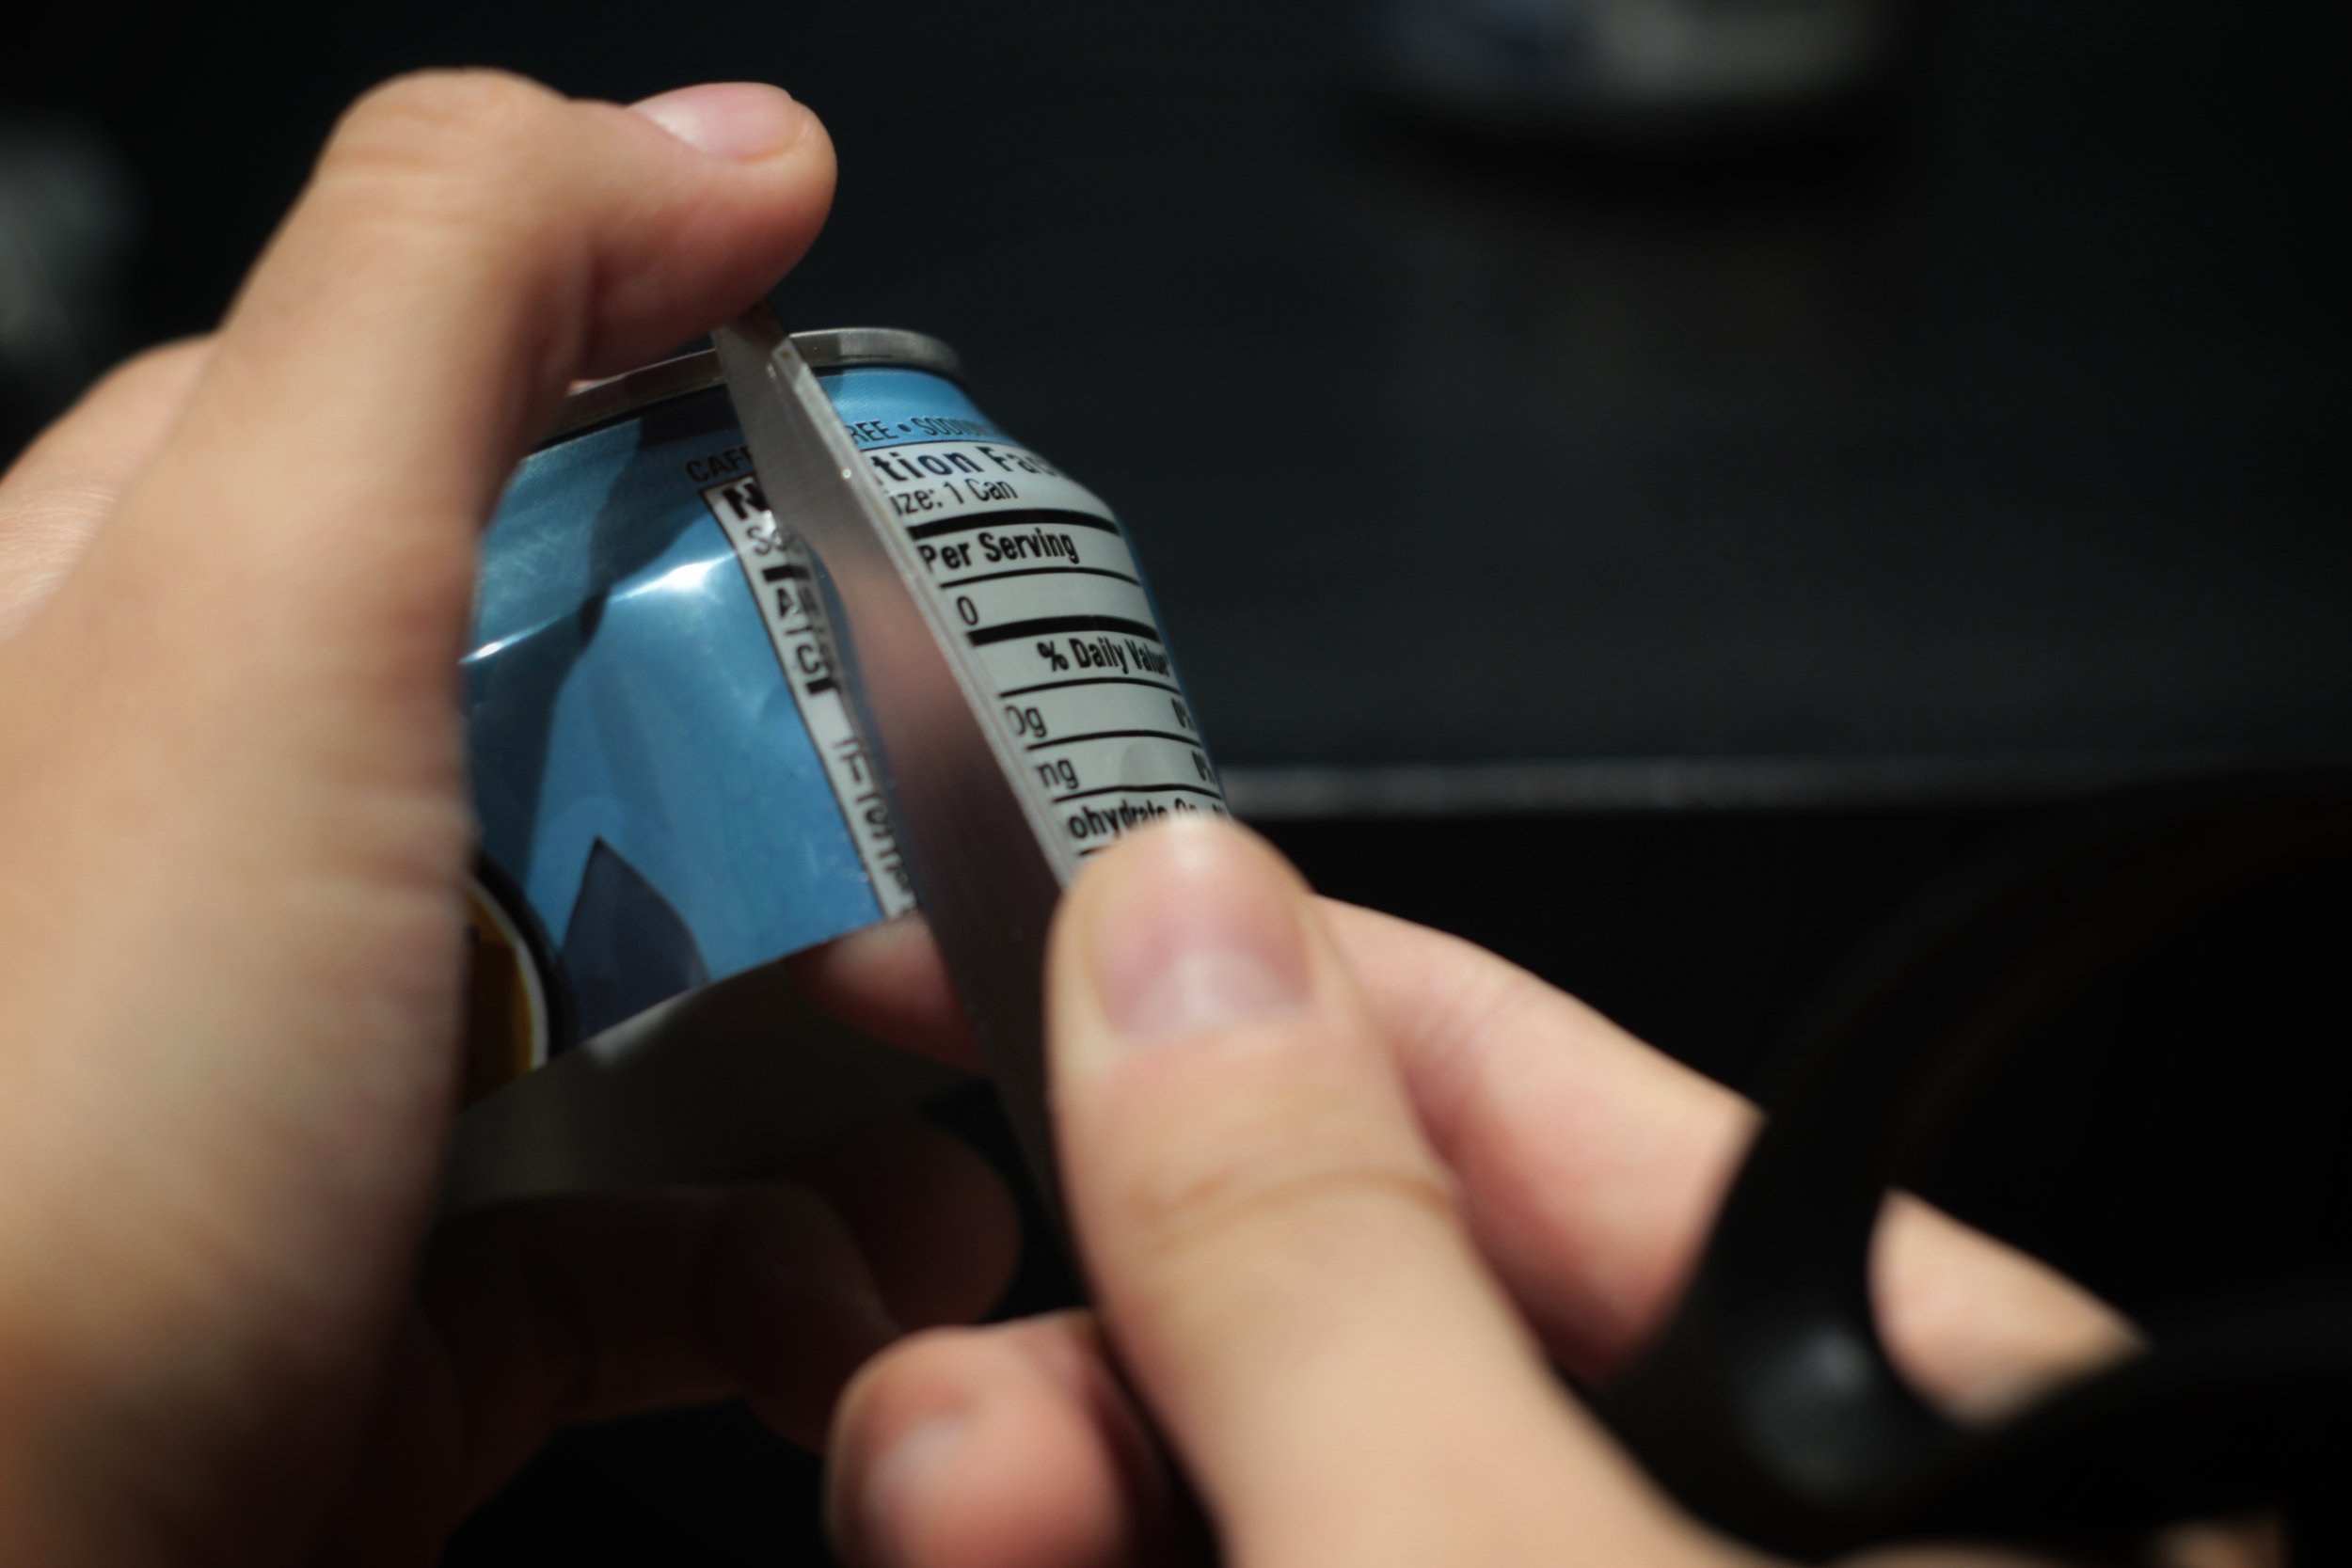
Step 2: Cut the can in half.
To do this I used a knife to pierce the can and then proceed to cut it in half with the scissors. At this stage the cut does not have to be neat but avoid adding permanent dents in the can. Be careful with the cut edges as they are sharp enough to cut through skin.

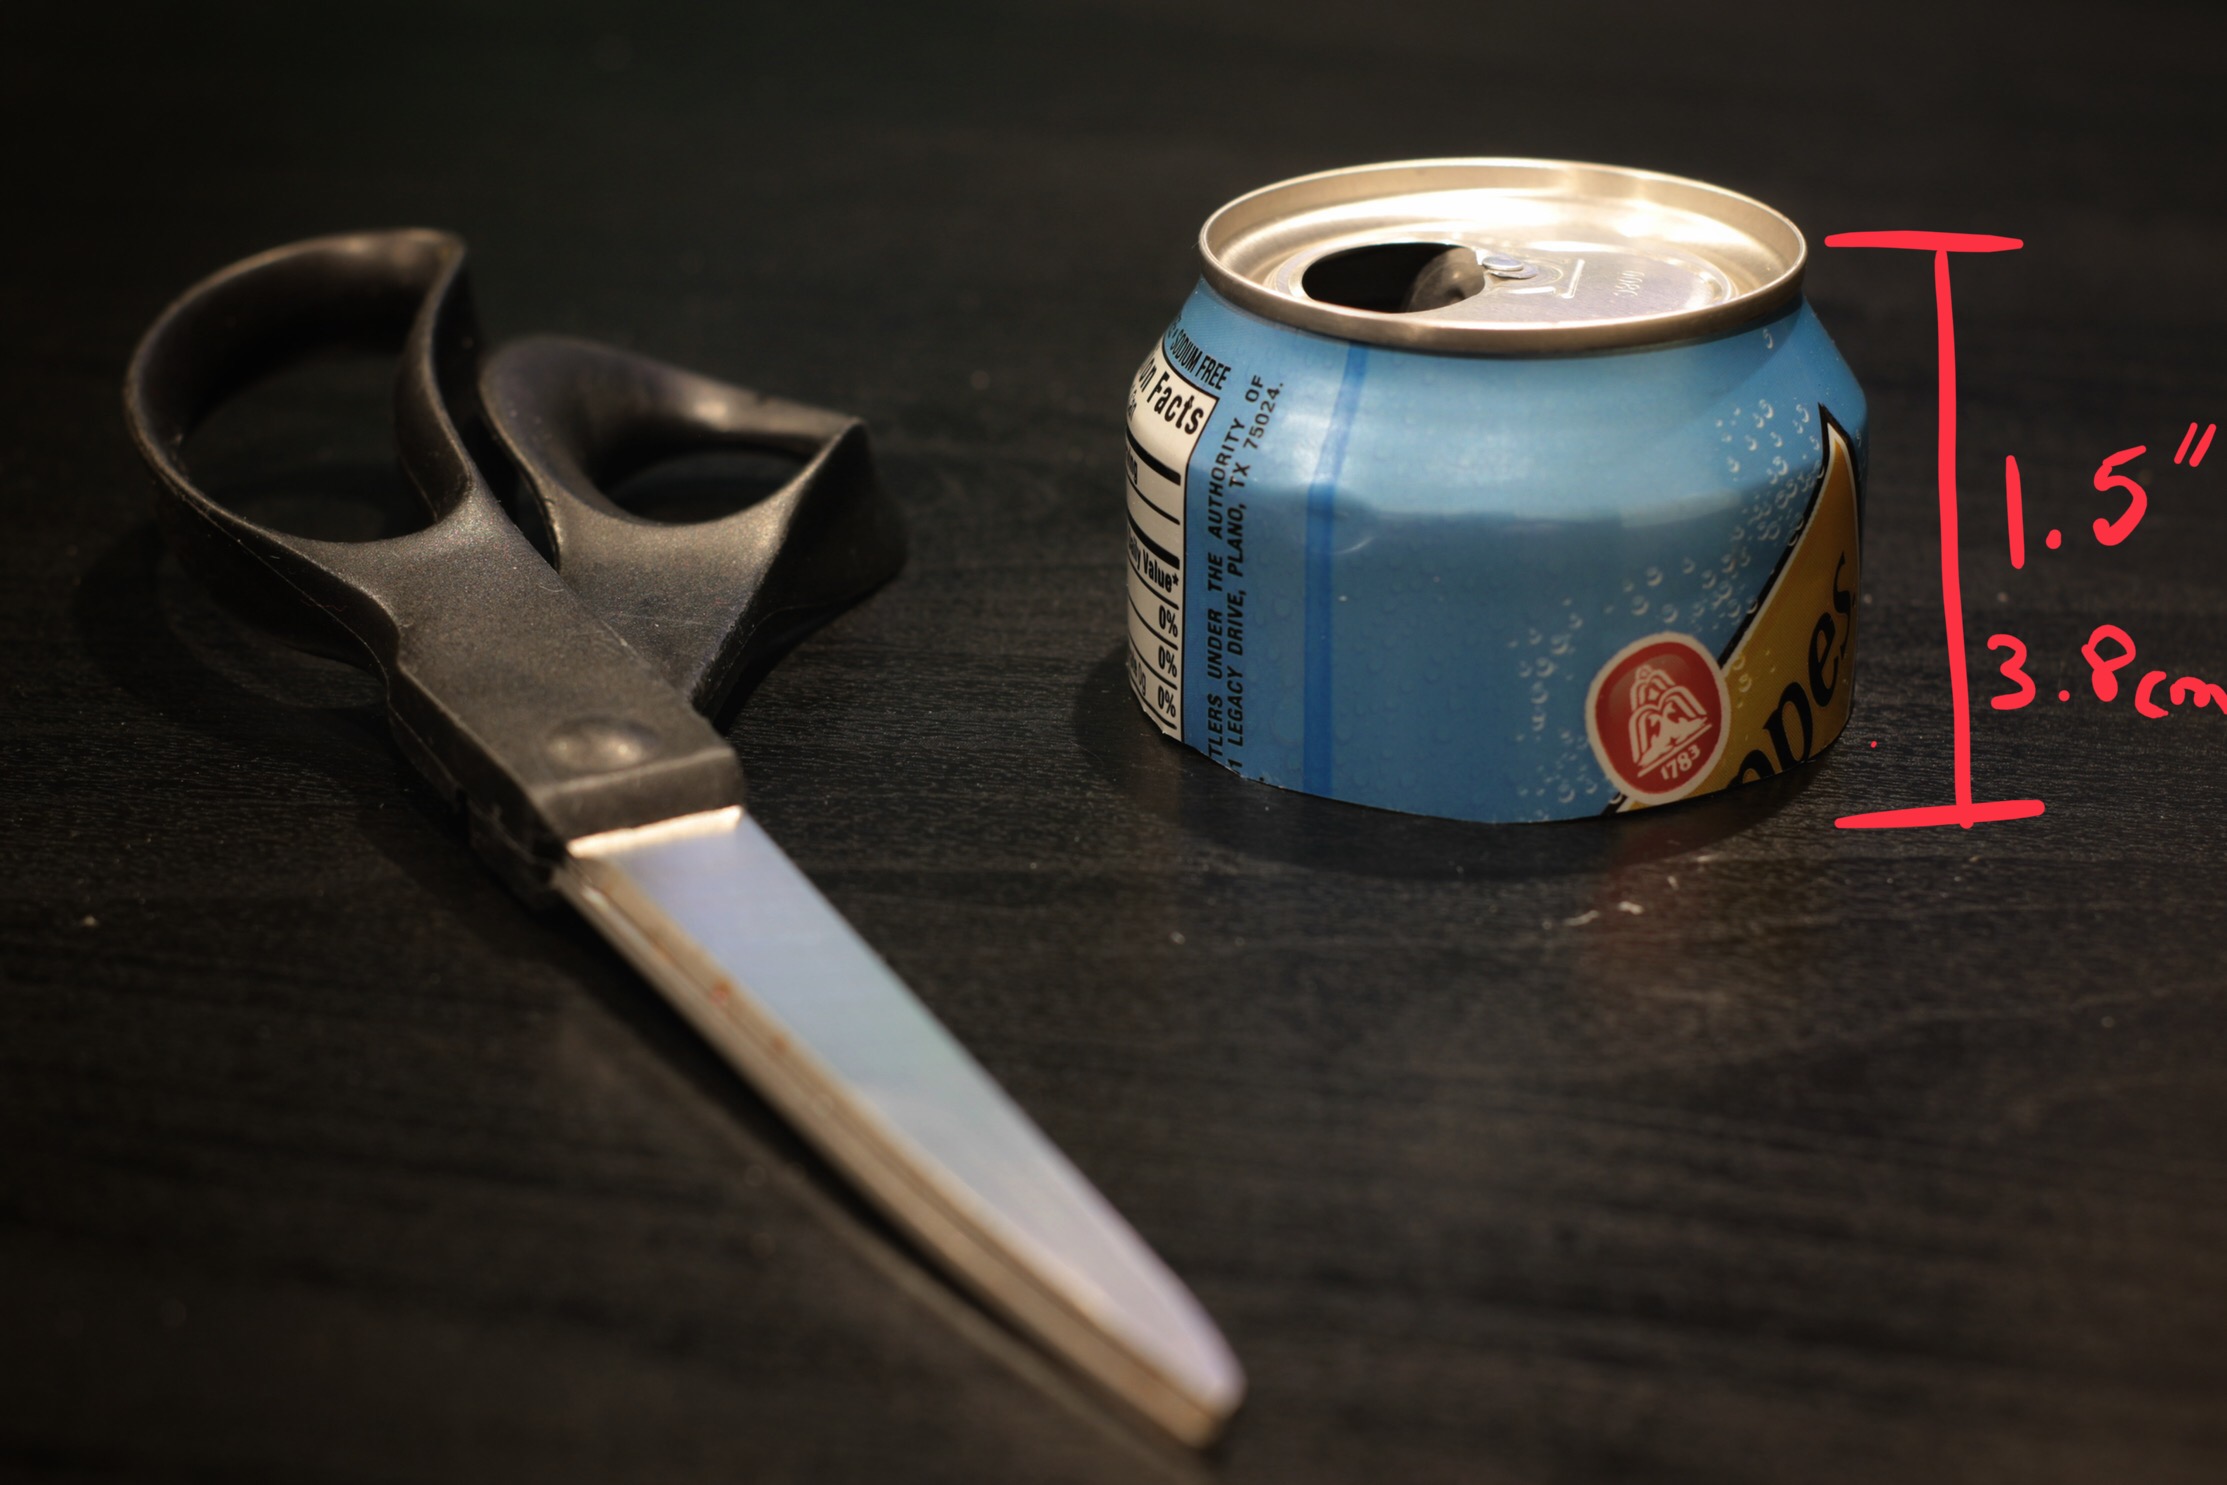
Step 3: Determine what size stove you want.
Determine what size stove you want by cutting the top half of the can to length. Use the scissors to cut around the end of the top half of the can to the desired size leaving the end even and smooth. This will not be your final length because the bottom half will add about a 1/4 inch or 6.35 mm. My stove is about 1.5 in or 3.8 cm from cut end to top.
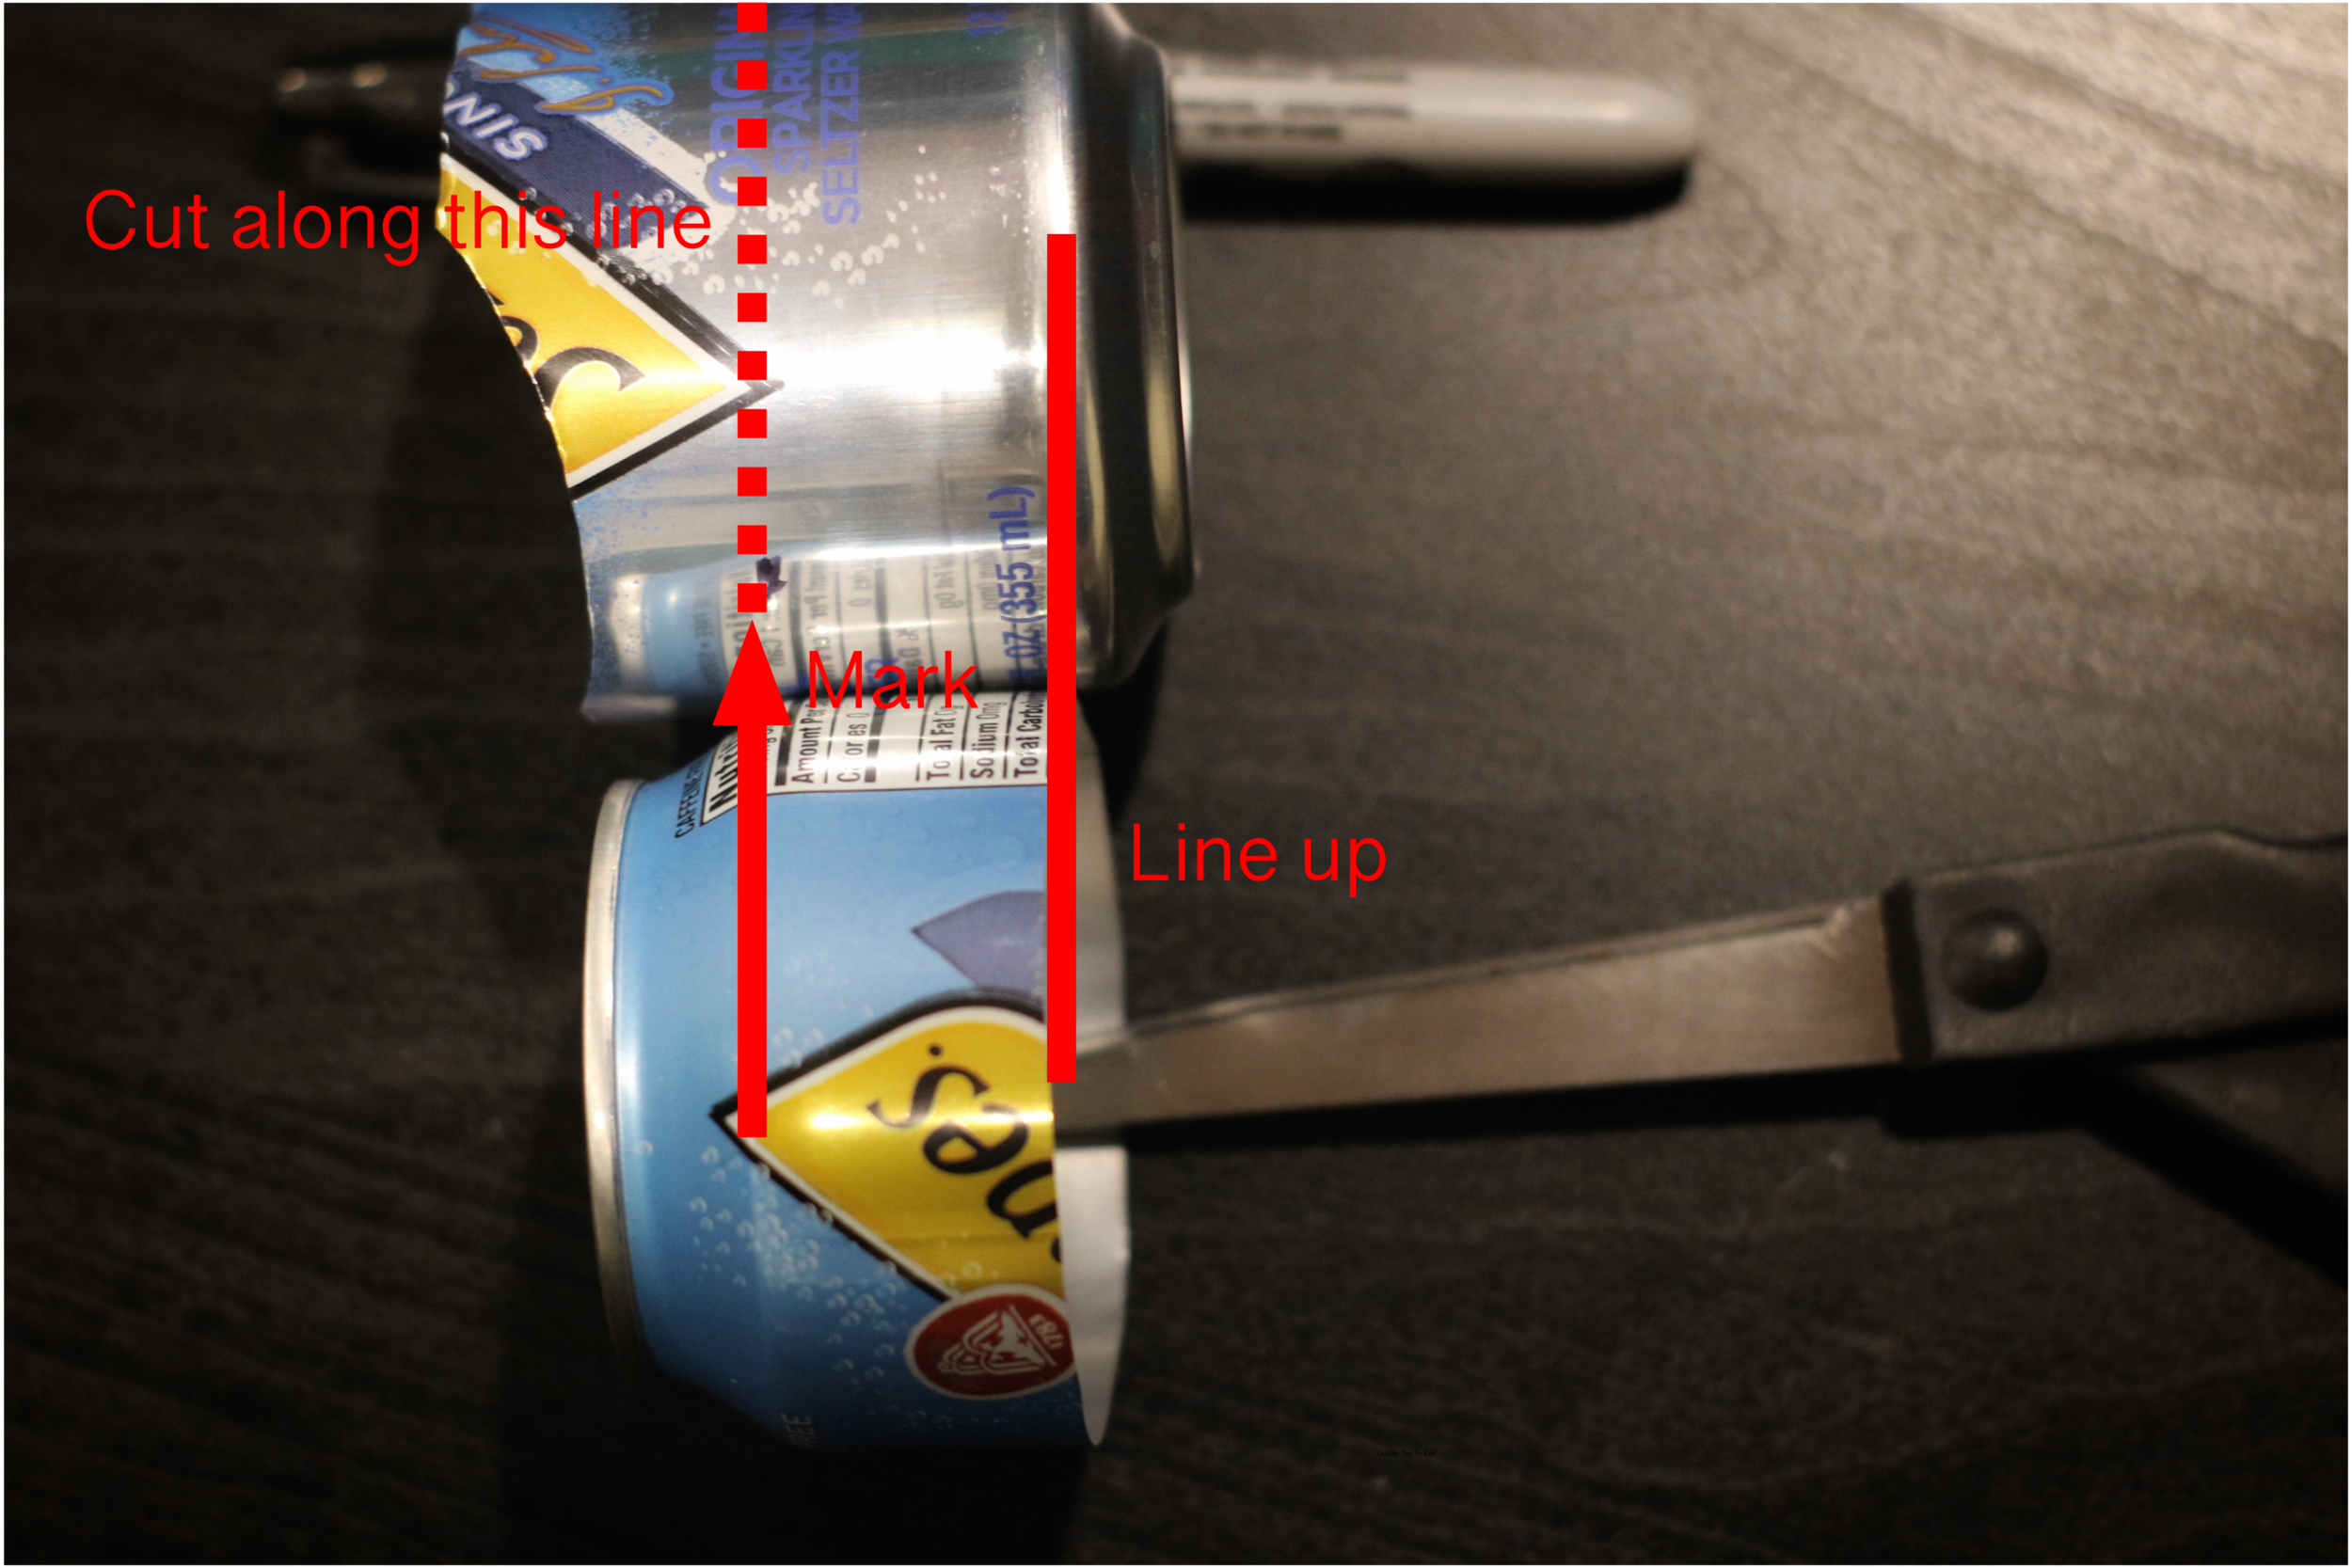
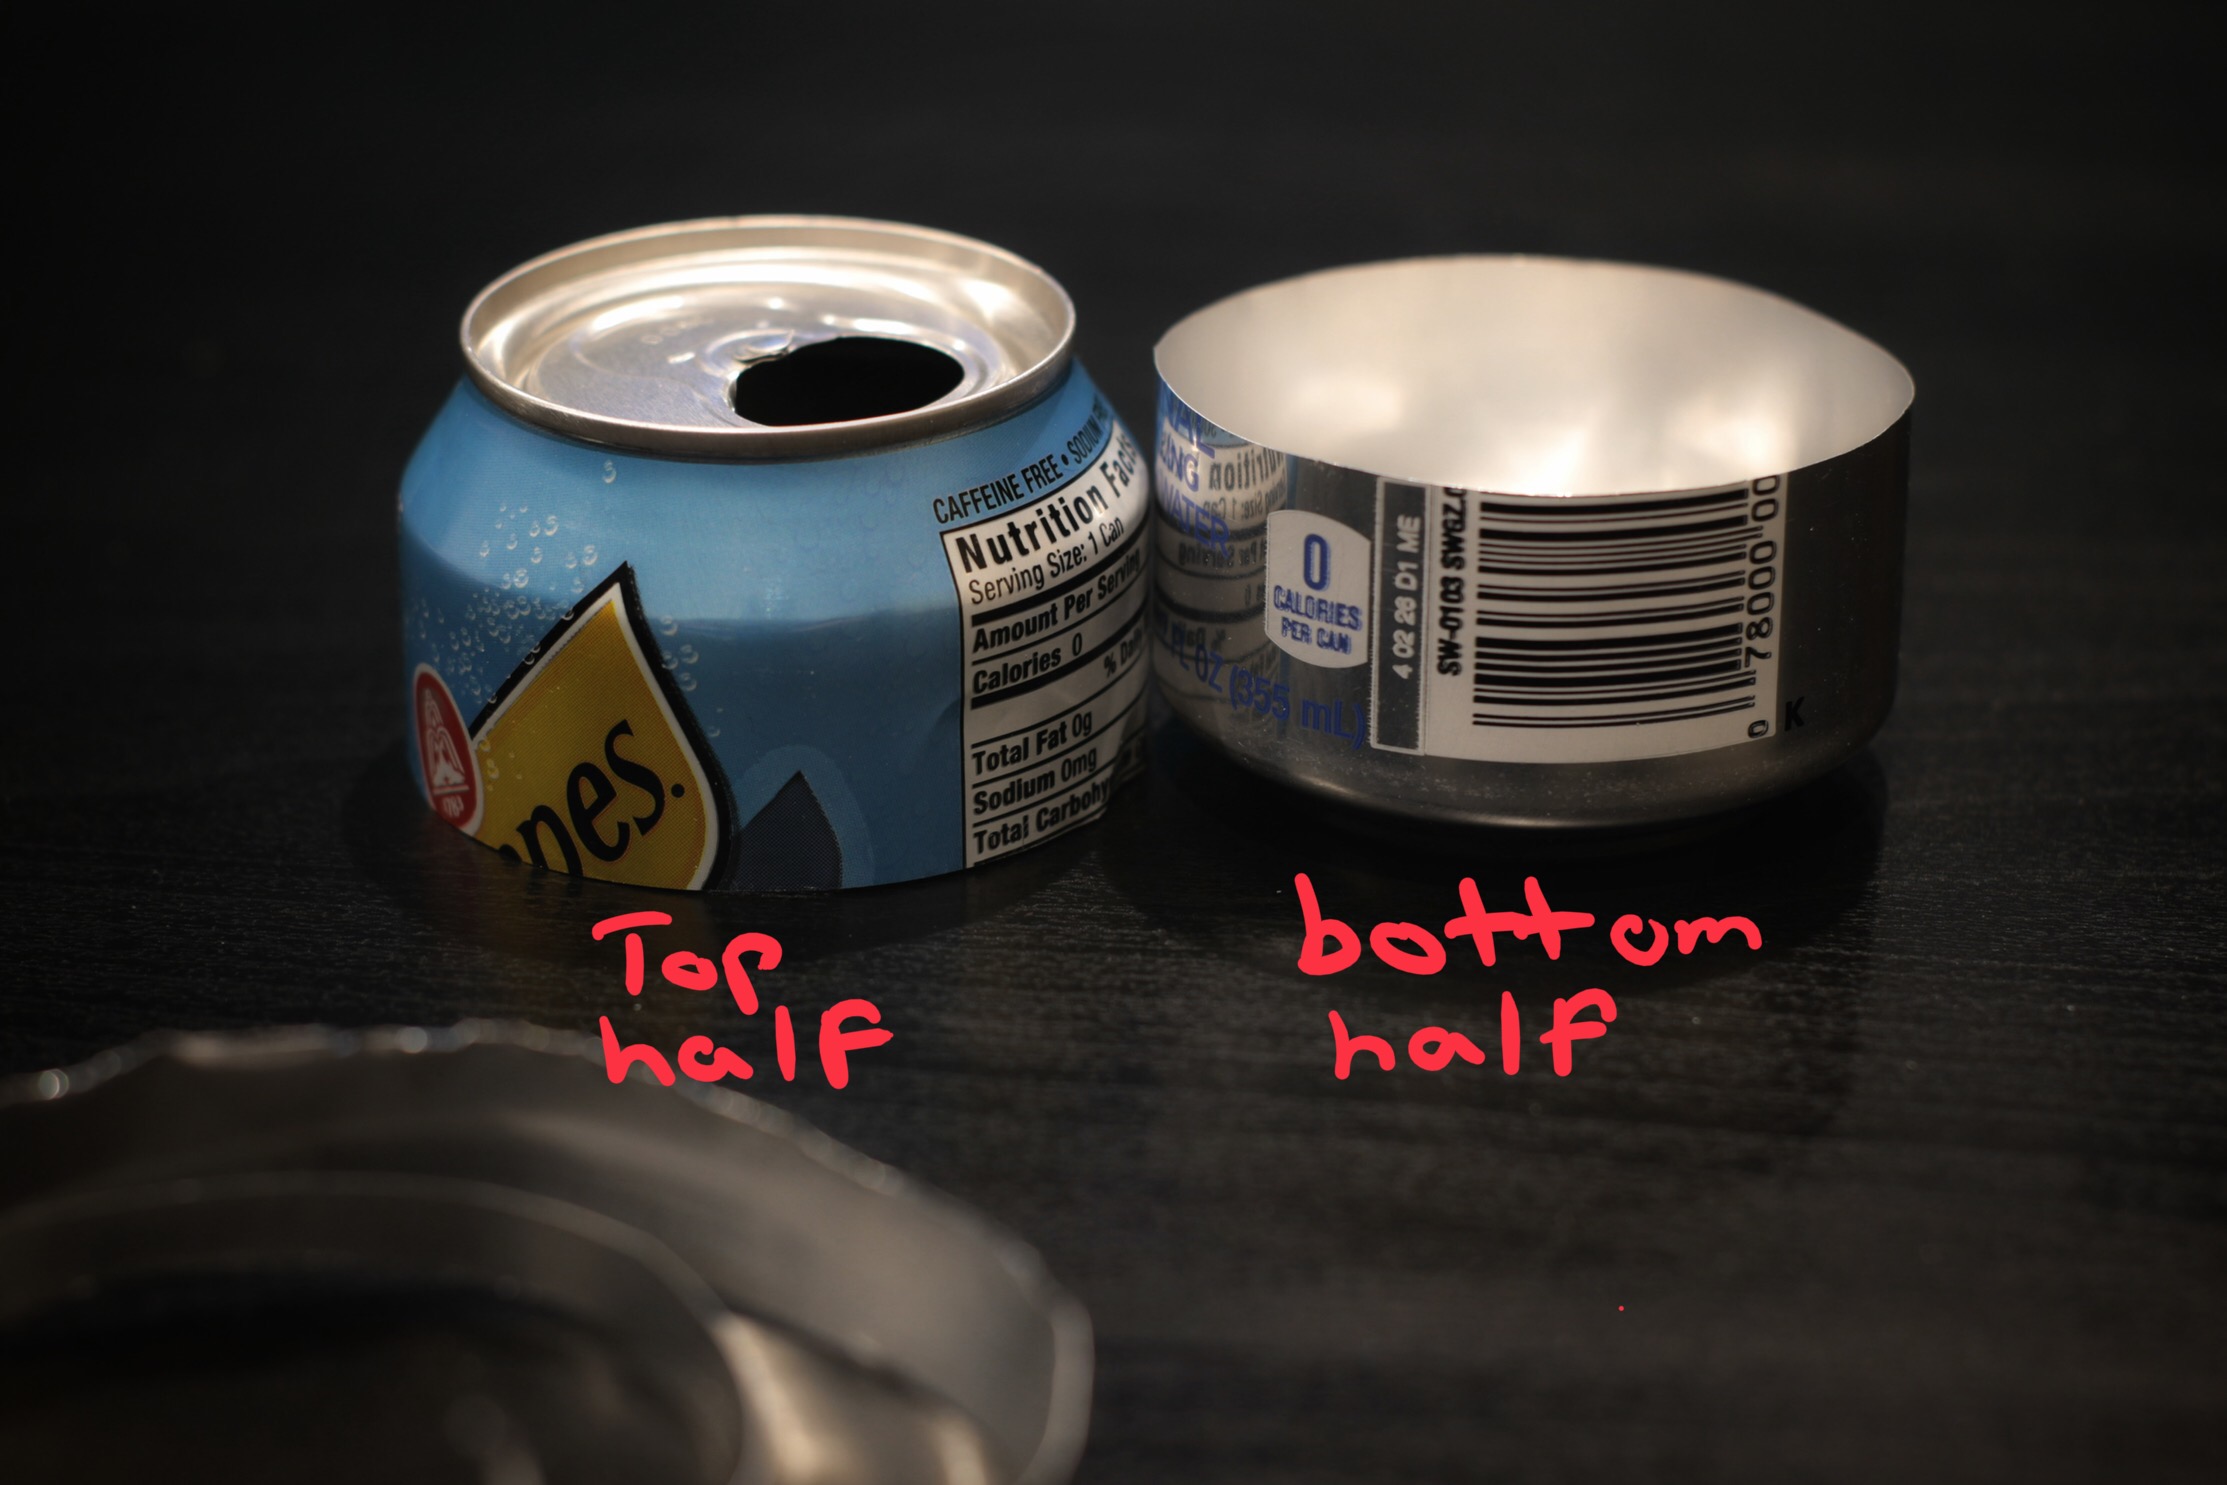
Step 4: Mark and cut the bottom half.
You should line up the pieces so that the cut edge of the top half lines up with the radius (round part where the can starts to go inward) on the bottom of the bottom half. Then mark the bottom half at the point where the top of the top half starts to bend in. It is best to mark slightly above this area and if need be trim at a latter step. Then you can proceed to cut the bottom half along the mark leaving the edge even and smooth. See the image for a better understanding of how the pieces are lined up. Where the mark is on the image is where the can was cut along.
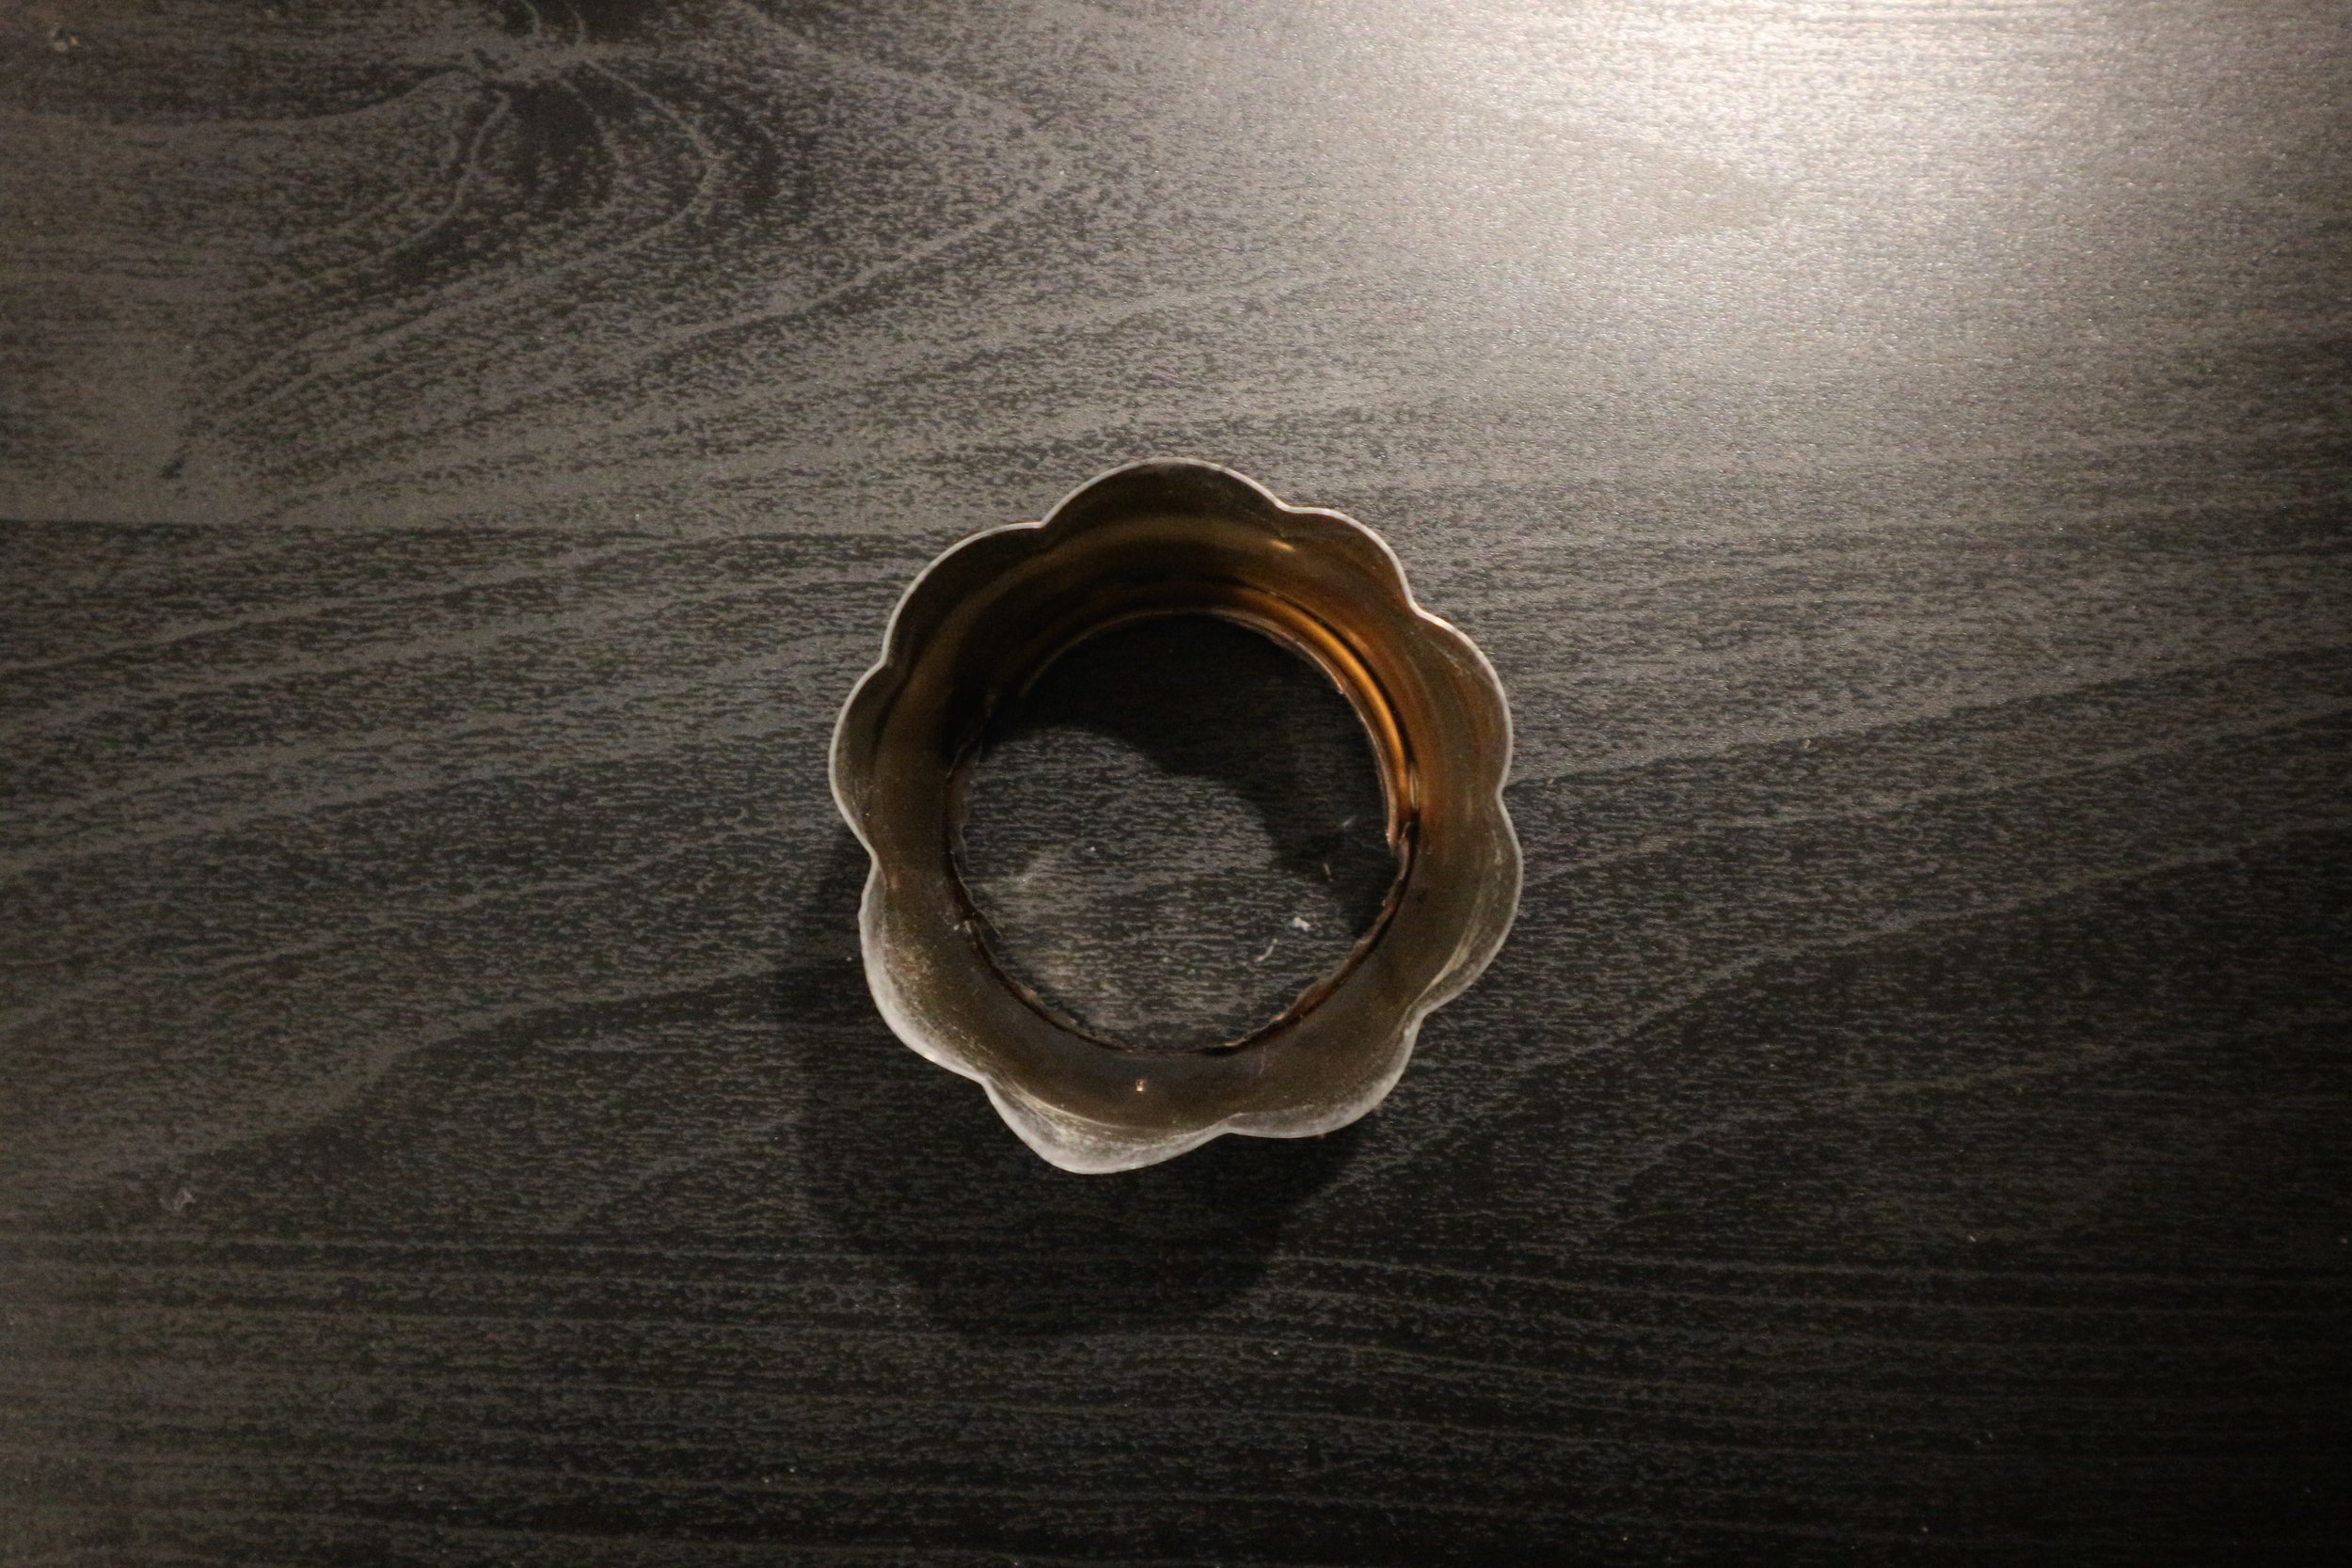
Step 5: Creating the jets.
In this step we will be using a knife to place grooves or notches along the top half so that these grooves can act as jets for the stove. To do this I took a knife and placed it vertically along the top half of the can and placed my finger on the other side of the can (the knife is on the outside part and my finger on the inside portion of the can). Then I gently pressed and rocked the knife along the can so that the rounded part of the can was pressed in slightly and indented and the whole side of the can had a vertical indentation. The groove will run along the whole side of the can.
Note that indenting the radius part of the can is easy but more force is required to indent the side of the can all the way to the cut edge. By placing your finger behind where you are applying pressure with the knife the metal starts to roll around your finger creating smooth indentation with round edges. The groove should run vertically along the whole side of the can up to the rounded part where the can starts to bend in to form the mouth.

Make 6 to 10 indentations or grooves evenly spaced on the can. To many indentations and you will be burning through fuel quickly but not enough and you won’t be able to maintain a flame.
What will occur in the can is the fuel (alcohol in this case) is heated and will begin to vaporize (undergo pyrolysis) so that the vapors can then burn. As the fuel vaporizes in the hot stove it will expand and be pushed out through these indentations or jets. The escaping gas is then ignited creating a symmetrical heat source for your pot.

Step 6: Assembling the stove. (The hardest part)
Now you will need to place the top half inside the bottom half without permanently bending any of the halves. This took me ten minutes to perform on this stove. It may seem impossible at first but trust me it is possible just very difficult. Once you manage to get it in, every sequential time becomes easier until maybe the tenth time the top just slides right in.
To help you can use a unopened can and gentle shove it into the bottom half. This is not necessary and increases your chances of deforming the stove. If you expand it too much you will create gaps where the two halves meet letting fuel pass around the grooves and increase fuel consumption.
Instinct is to place half of the top half into the bottom half by tilting it in and then proceeding to gently bend in the rest but i found that this increases the chance of permanently damaging the stove. I recommend trying to insert the cans with the edges parallel and then gently folding in the edges. Be patient as it might take you a long time.
When the top half is inserted the grooves or jets should be just barely protruding from the bottom half. This means that the bottom half should be slightly over the bend of the top half. If this is not the case remove and trim.

Step 7: Poke a pressure relief hole.
You will need to poke a hole in the top half so that pressure can be relieved when the stove is active. This hole does not need to be big (pin sized hole) and should be away from the jets. The best place would be to have it close to the top and in between jets.
Optional step:
Unlike some penny stoves the fuel can be reused. To be able to better drain the fuel from the stove i suggest modifying the top of the can. What I did is cut out the whole top of the can where the drink hole is. This was difficult as this is the strongest part of the can. A large hole like this will make priming the stove easier.
Another suggestion is you can cut out a lip in the can. Cutting down from the drinking hole all the way to the edge lip that is supposed to capture liquid when drinking. This is an easier method.
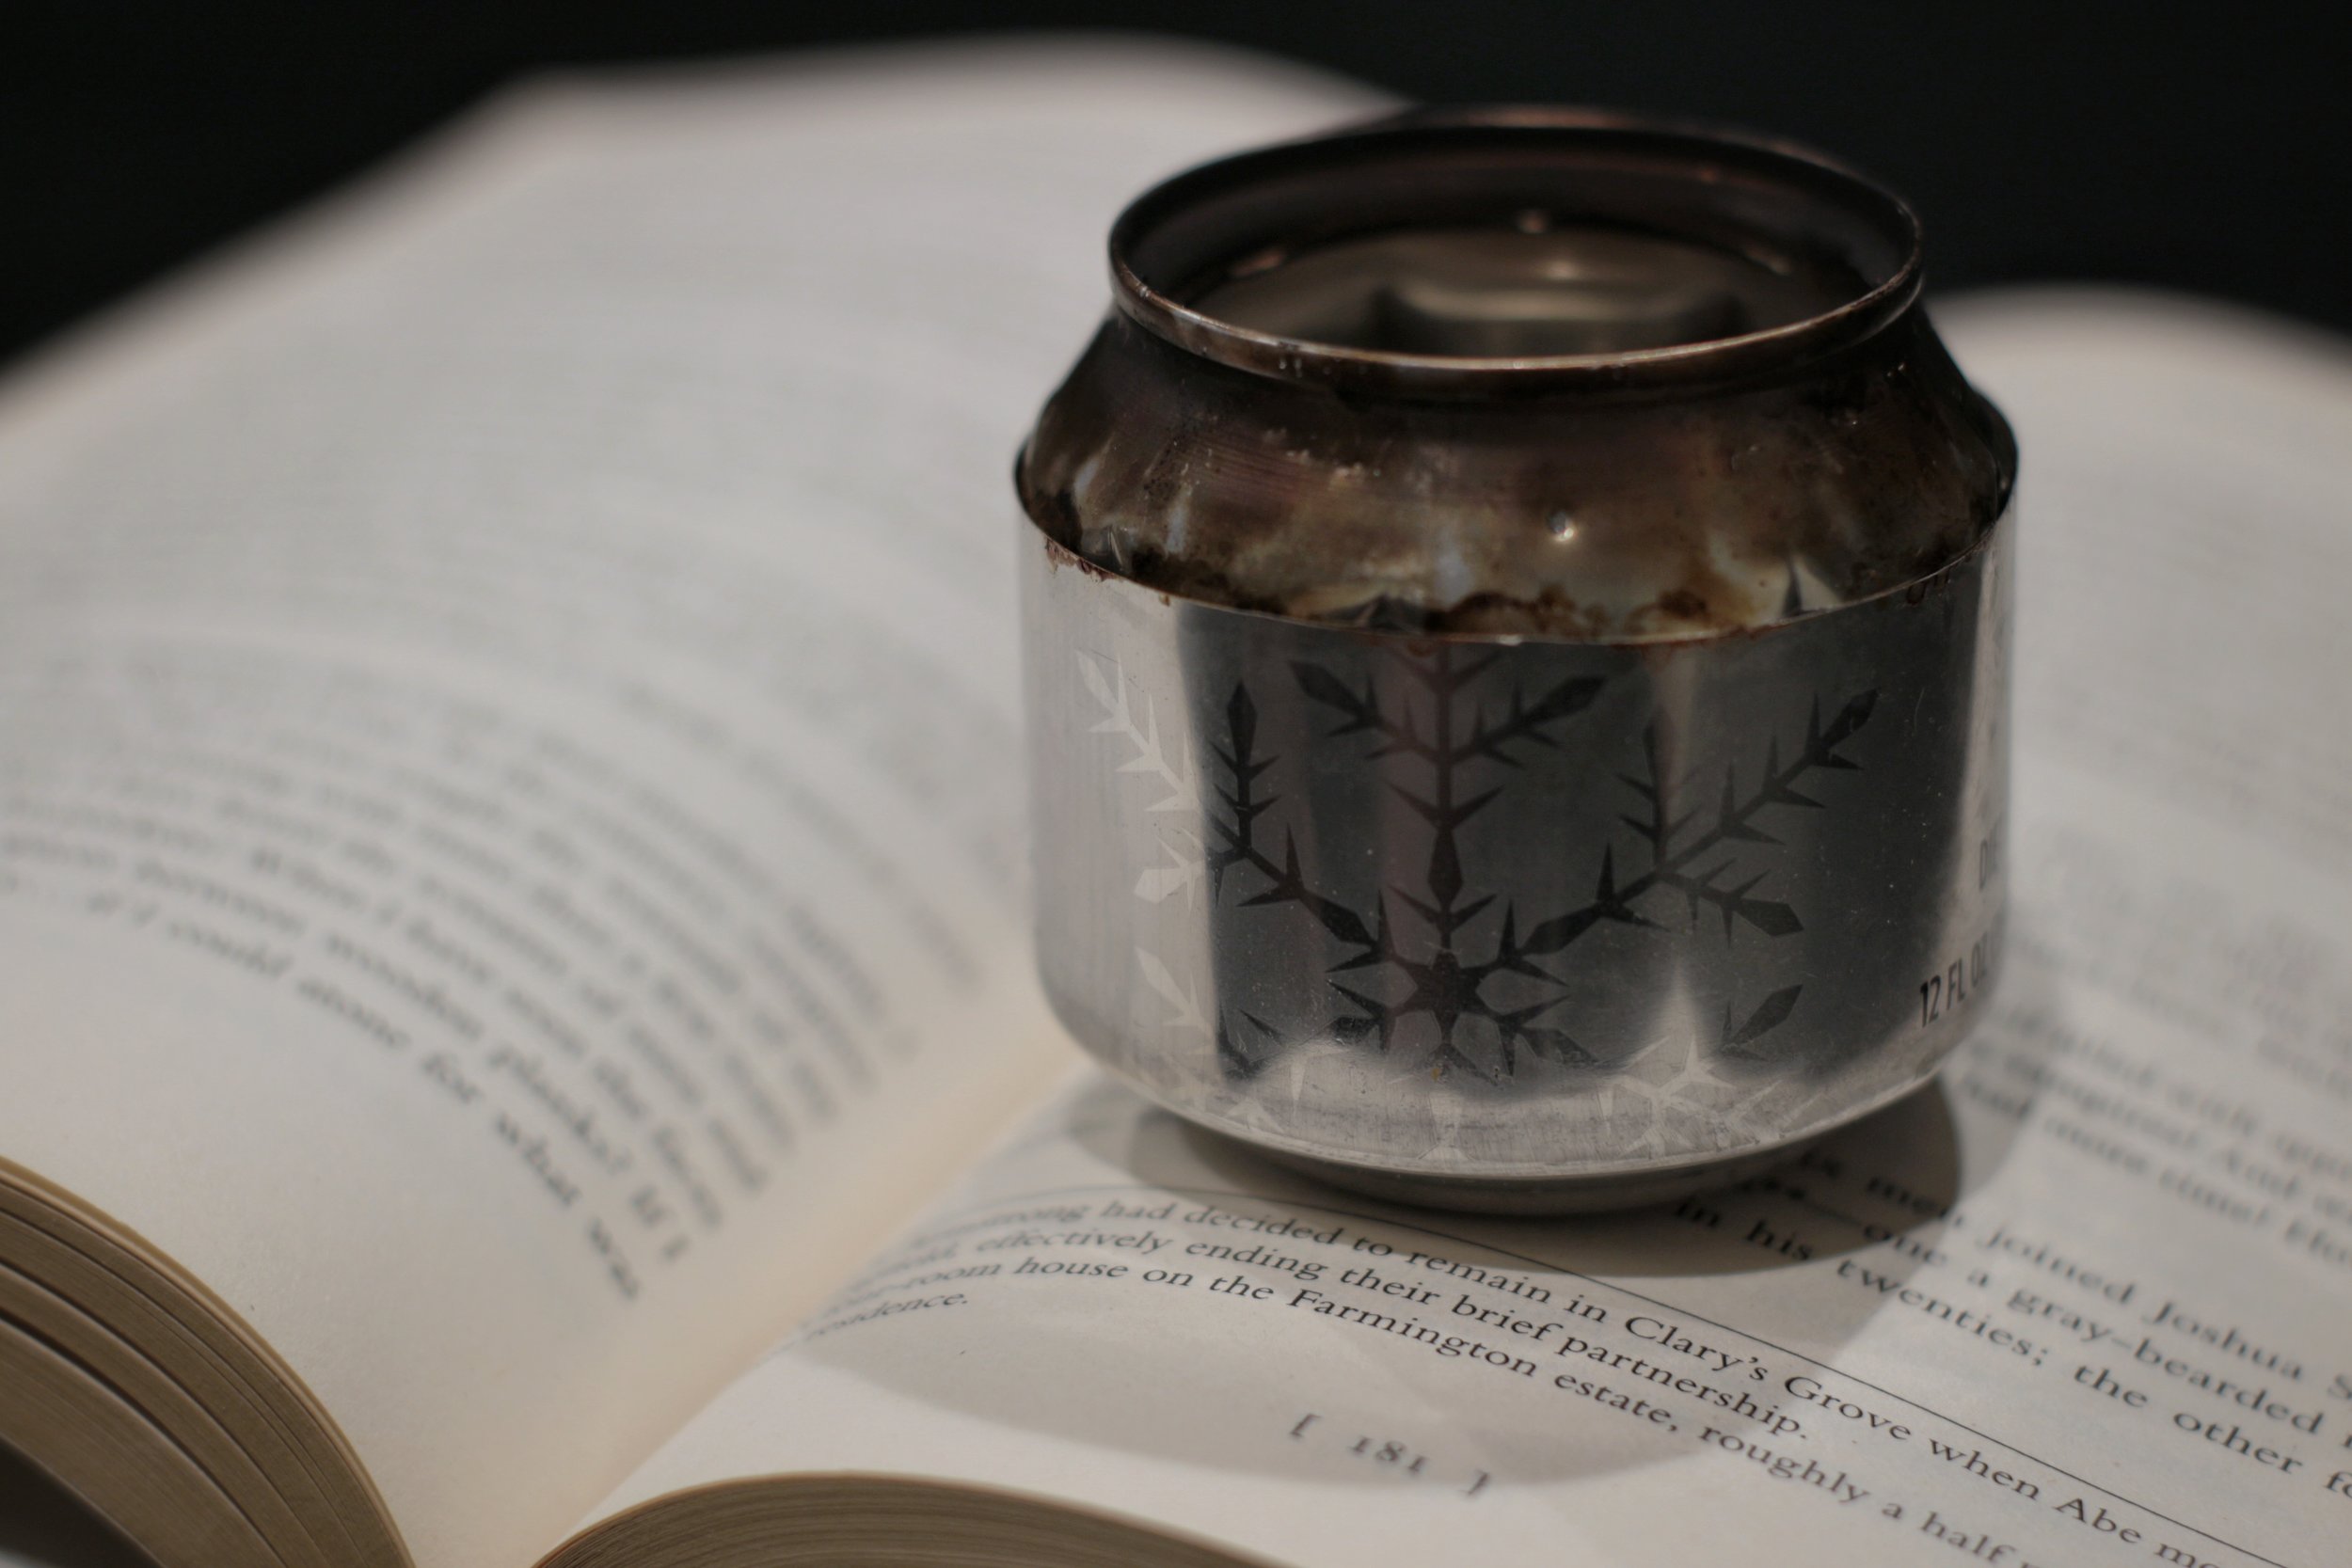
The stove is quite strong when assembled. For packing i would recommend finding something rigid to put it in. I was lucky enough to find a small round Tupperware about the same size as the stove. Another great suggestion is to buy a cheap tea tin on amazon as it can later be used to extinguish the fire to preserve fuel.
How to use
To use the stove you are going to first dissemble the stove and then add your fuel. After reassembly, you will need to prime the stove. Priming is the act of heating up the fuel so that it can vaporize fast enough that the pressure increase within the fuel chamber and can be pushed out the jets quick enough to provide a constant flame.

If you cut a large hole or the whole top off your stove (like in the thumbnail picture) then all you need to do is light the fuel inside and let it burn for a few seconds. If you start to see flames coming out of the notches or if it has been a few seconds since the fuel has been burning you can place your pot on top and relight the sides of the stove. Usually lighting one or two notches will result in the other notches self lighting if they are close enough together.
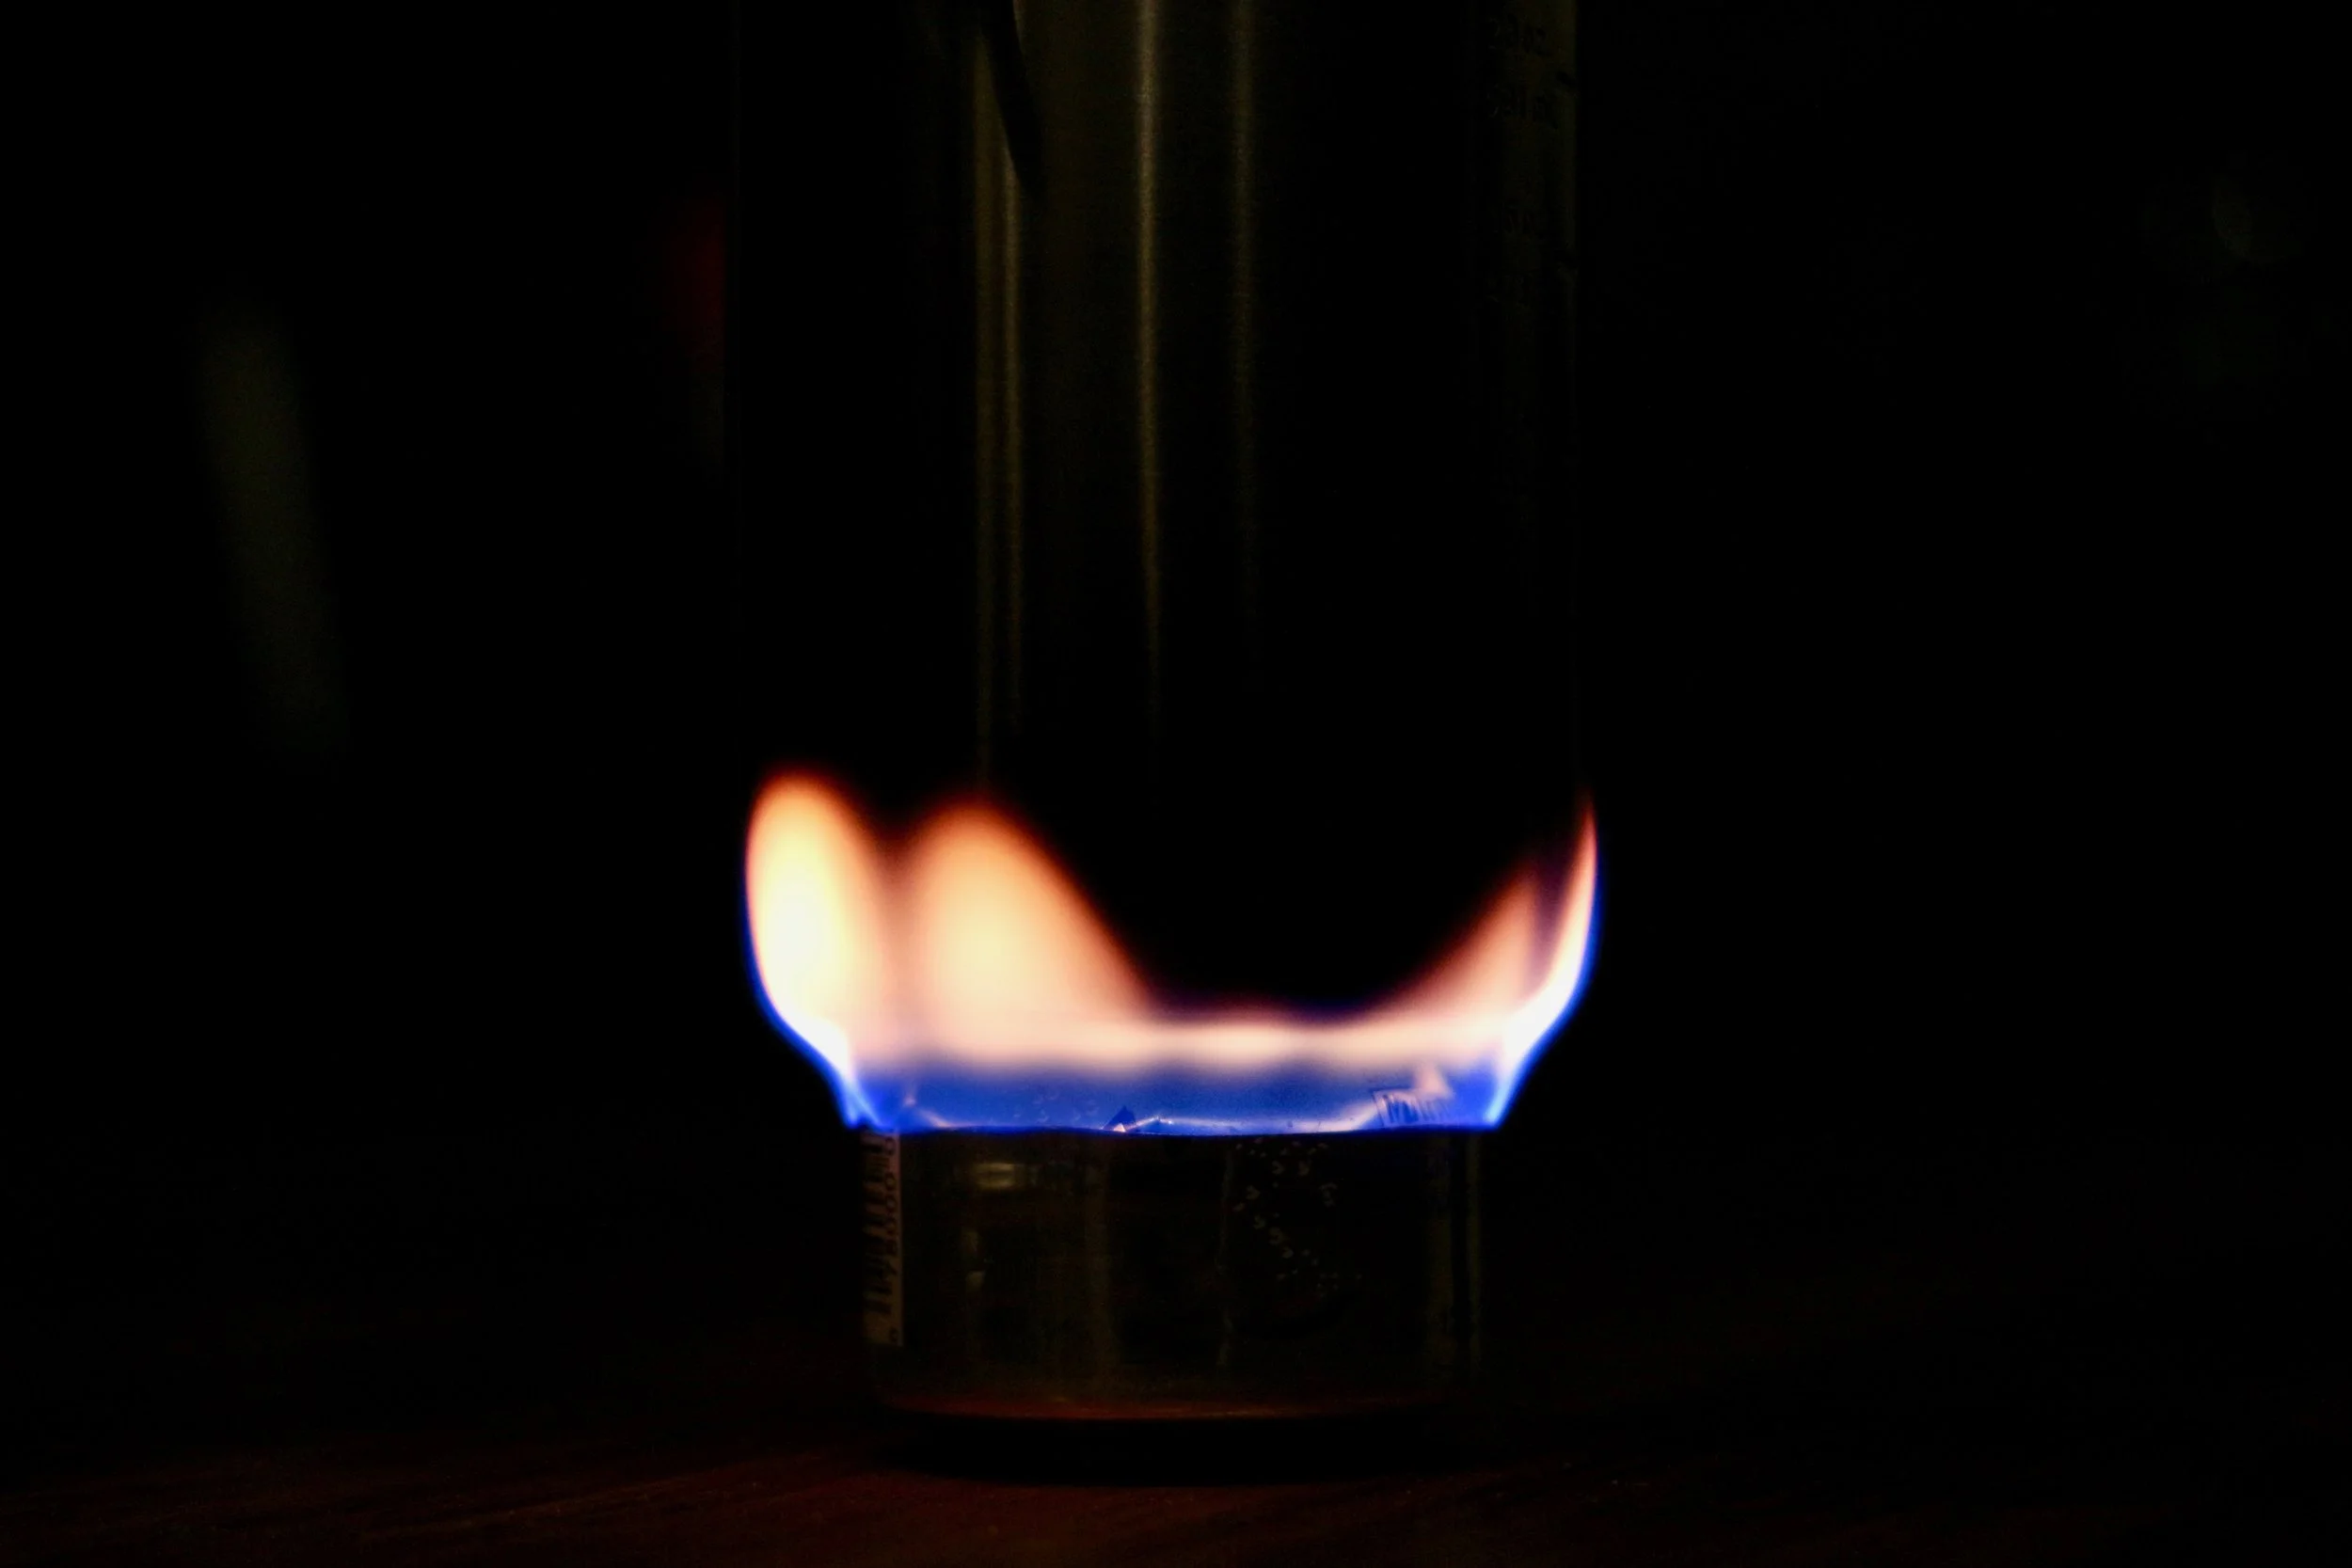
If you left the top uncut then what you need to do is either tilt the stove and light the fuel or proceed to heat up the can with a lighter. Aluminum transfers heat quickly so this should not take long. What I sometimes do is light the fuel then heat the can. Then I set my pot on top. I finally attempt to heat the can again until the flames come out of the notches remain lit or self ignite. For the stove to work properly you will need to have a pot on top covering the mouth hole of the can.
If you don't know how much fuel is needed to boil water then when you are done boiling and the fuel is still burning you can either let the stove run dry or you can use your metal container (tea tin) to cover the stove and let the fire suffocate.
Conclusion
The stove does come with its flaws. A stove like this is not as efficient as something like a Jetboil and because of its inefficiency and alcohols low energy density the stove is not practical on long multi-day hikes away from places one can refill your fuel. The stove can get harder to light in colder temperatures and might be impossible to light under about 0 Fahrenheit (-18 Celsius). Because of its open top and flat surface only flat bottom pots can be used as the top of the stove needs to be sealed off to work properly. The setup is not very stable and there is a hazard of the pot of water tipping over.
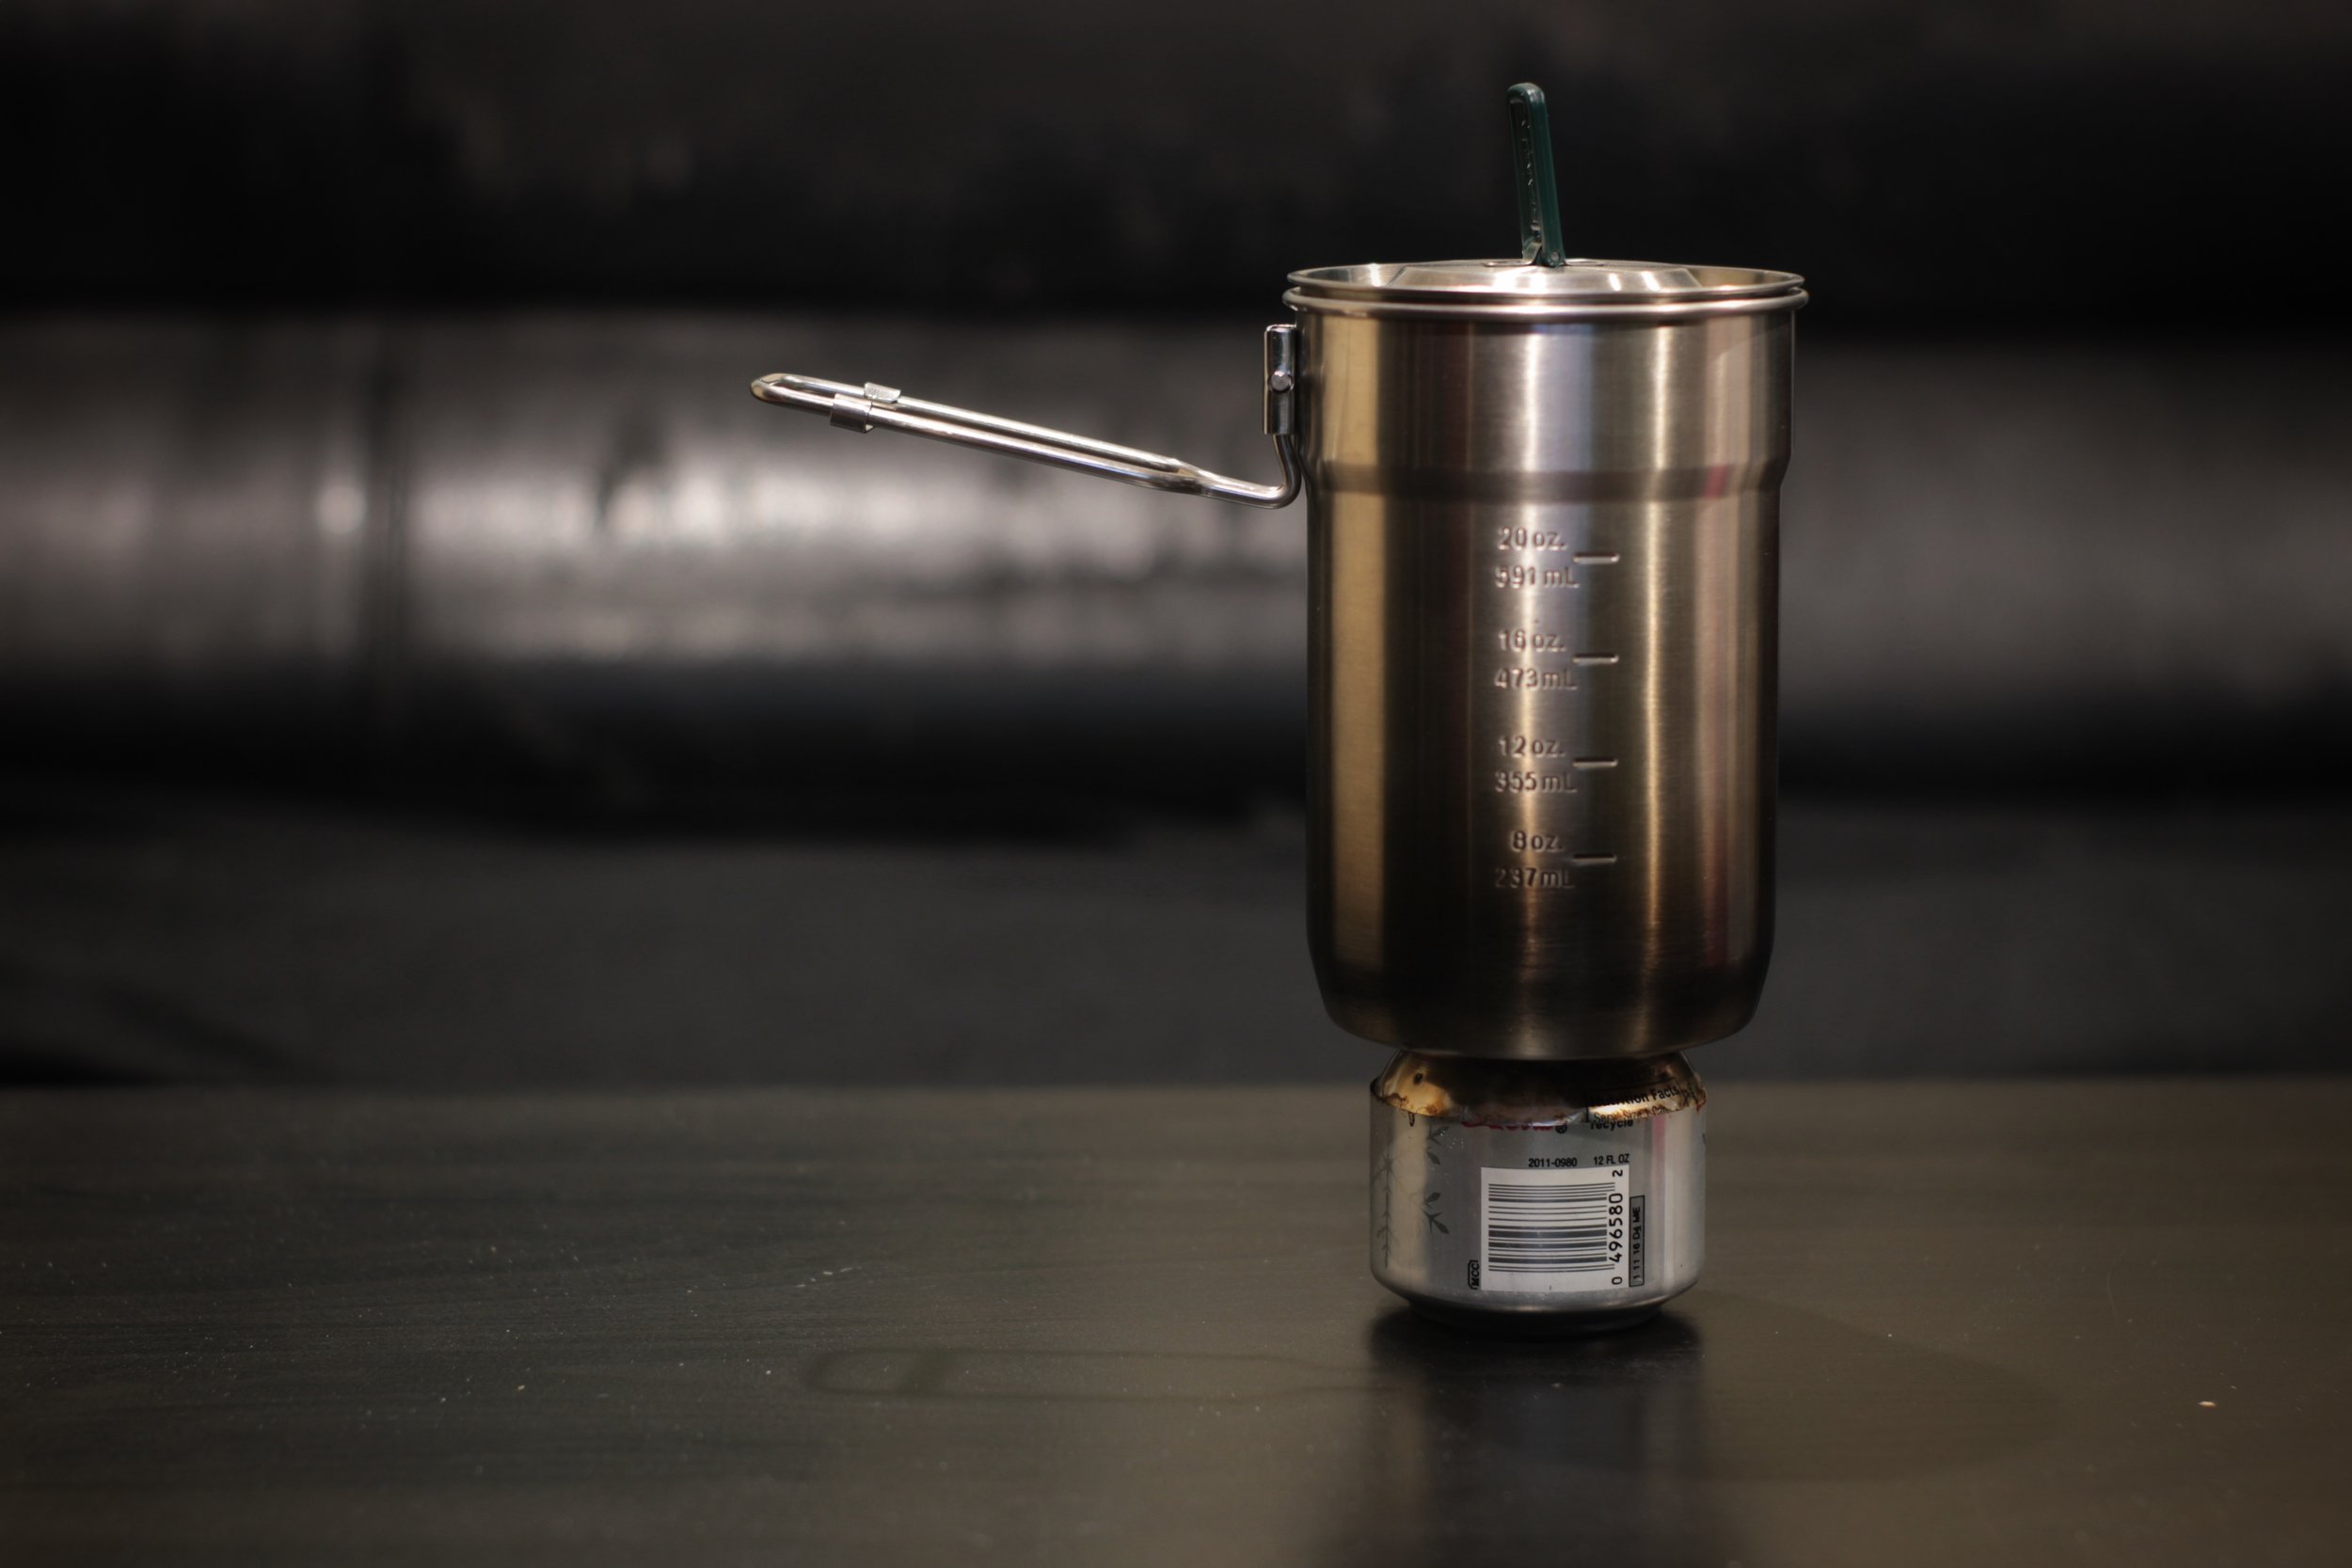
I believe the pros out weigh the cons here. The stove is strong and can easily support the Stanley Camp Cook set filled with water. When your done boiling your water you can disassemble the stove and pour your fuel back in its container. The best part about using alcohol is that it is clean burning, easily available, and inexpensive. The stove is essentially free, easy to use, and the best part is that you made it yourself. A stove like this projects its DIY spirit onto the maker and just makes one want to get out and go hiking. If you have been looking to get a stove for your first camping or hiking trip then why waste the money. Instead, build your own gear. You won’t be disappointed.